Y'lnoth is a Locations in Death's Gambit. An area of the game that is accessed if you have Death Contract in your inventory as you try to enter the Citadel of Caer Siorai after your fight with Origa, or during your "fight" with endless in front of the gate that requires three seals of Caer Siorai. You are unable to leave Y'lnoth until you complete it's challenges. (In fact, you can leave this by not resting at any Death Statue in Y'Inoth and use Crow Plume to get out. However, the event will be triggered again when you reach the sigil door again as long as you have Death Contract in your inventory).

General Information
- Previous: Aldwynn
- Next: Caer Siorai
- Recommended Levels: Any
- Bosses: Thalamus
Video Walkthrough
Y'lnoth Map
[map goes here]
NPCs in the area
Bosses
Items
Consumables
Weapons, Spells & Armor
Keys & Other
Enemies
- Shark Enemies
- Octopus Enemies
- Jellyfish Enemies
- Slime
- Altar Mimic
- Recluse
Full Y'lnoth Walkthrough
To get to Y'lnoth, you need to return to the boss fight arena in Aldwynn against Origa. From here, head right, into the raised portcullis to be treated to a cutscene of Caer Siorai -which you cannot reach yet. It ends with the beginning of an exchange with Vrael. Once that is done, you may speak to Ione. Once you've done that too, head back to the boss arena to speak with Origa. She will give you access from here to the sewers that run under the map, via the ladder down.
Take it down and head right, and a panel will emerge from below. Skip it for now and continue right to find a ladder that brings you down to an alcove with Slime enemies and a Feather Upgrade. Climb back up the ladder and jump over the alcove to encounter Endless in the next room, that will end in another futile fight you cannot win; She will kill you and after a Boogie Wit Da Hoodie-esque cutscene, you'll find yourself in the cusp of a giant hand in Y'lnoth.
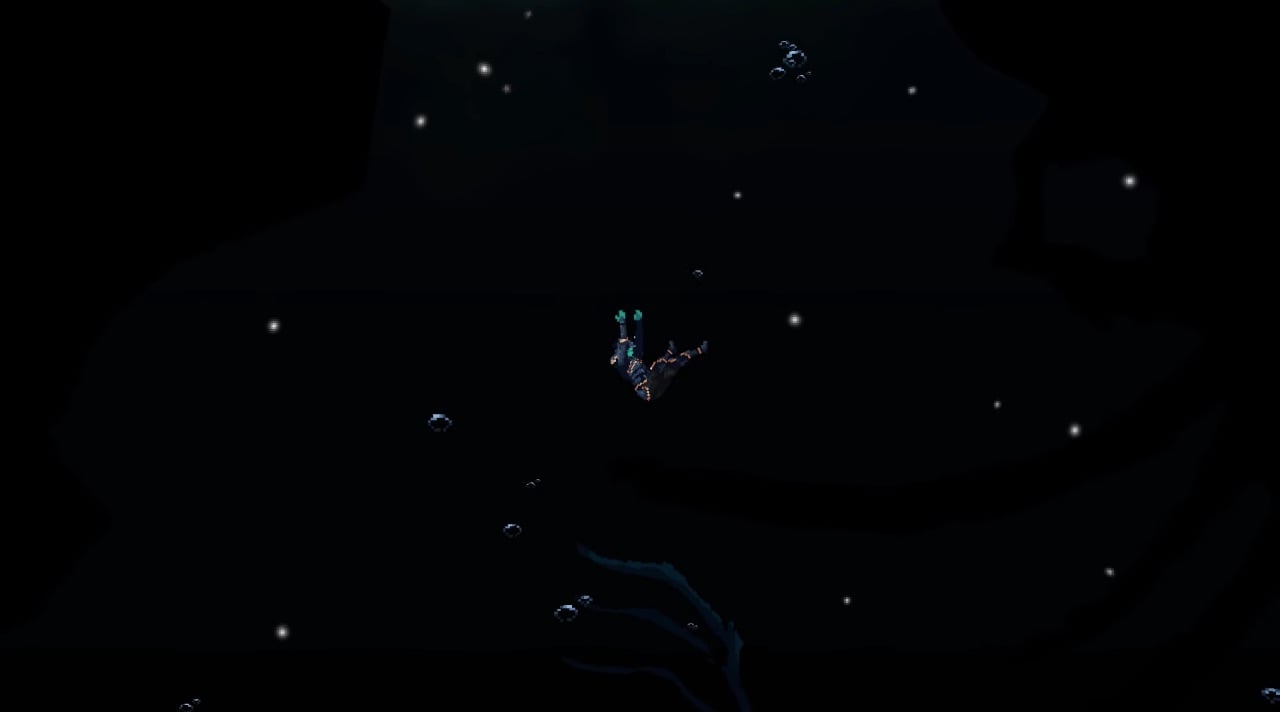
Drowning
Jump onto the thumb on the left and off it to land on a platform holding an Immortalite Stone then drop down again, or alternatively, walk down to the wrist, and take the elevator down the arm; you'll arrive at the same location. Drop down once again and head left to encounter a Shark Enemy. Kill it and continue left. Jump onto the platform ahead and drop down the gap while hugging the left. This will bring you on a water slide ride down to the Tortoise Shell. Head right to fight a Jellyfish enemy. These guys have the ability to poison you. After defeating him, take the Shark Enemy directly above then proceed right. This will bring you to a quick cutscene with Endless, this time you will take the form of your younger self.
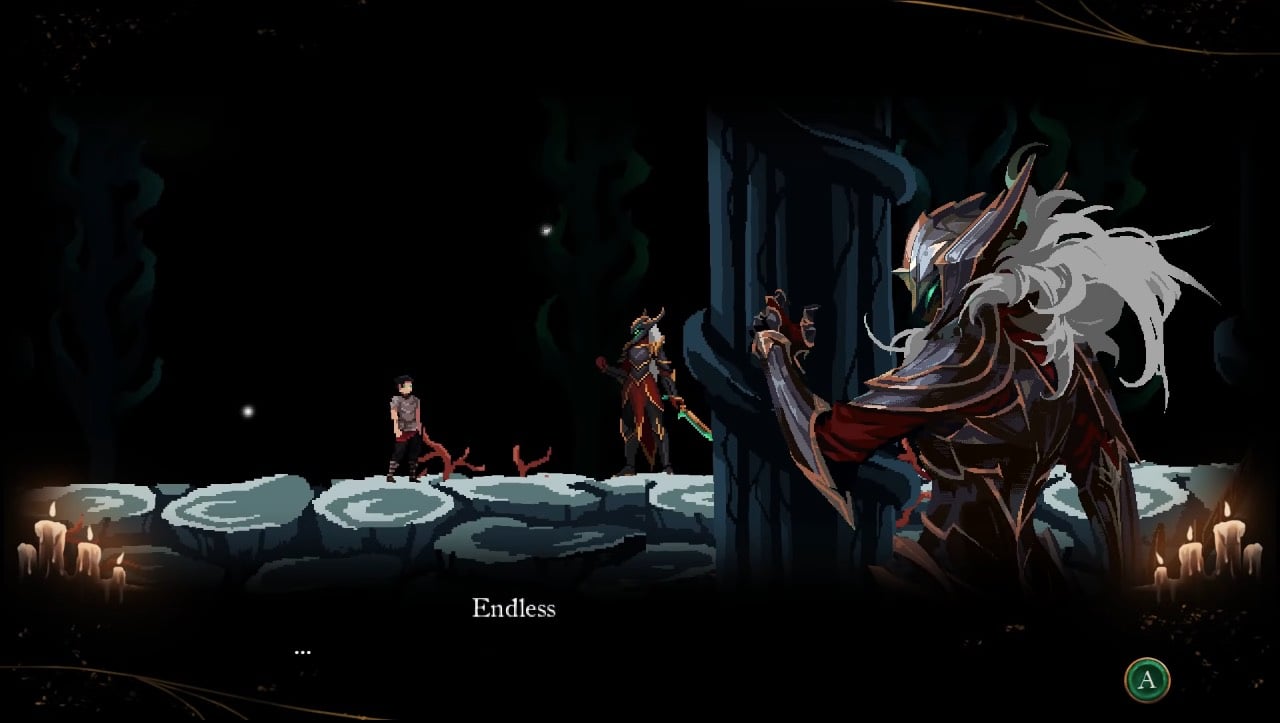
Passing the next pillar will turn you back into yourself. Head right and destroy the Altar mimic. The enemies ahead are a little weird. The xenomorph-looking ones are merely illusions, while the Recluse and the bowing men are real. At the end there's an Abyssal Eye (item). Head back left and drop down the hole to land at an actual Save Point Statue. Head right and smack the wall to unveil a passage. This will bring you to another four Jellyfish enemies. Continue right until you come across another blocked off cave entrance. Hit this wall again to reveal another secret passage.
This brings you to a cave with a ladder, and another illusionary wall on the very right. The illusionary wall brings you to an Immortalite Stone and an Altar mimic. Head back out and up the red ladder, and head left. This will bring you to a ledge holding the Dark Crystal Plume. Head back to the ladder then head right and swipe the wall to reveal an illusionary wall that will bring you to another ladder and Shark enemy. Take this ladder up to collect an Abyssal Eye and unveil yet another illusionary wall that will bring you to another Save Point Statue and ladder.
Up the Ante
Up the long ladder you'll arrive at what appears to be a dead end. However, if you proceed left, you'll discover an invisible path that brings you to a cutscene with a dead version of yourself. When it ends, you may attack your dead self, however attacking it will decrease your health while letting it attack you will drain its health. Once its been dealt with, continue left until you enter a room with another Save Point Statue. Continue in the same direction until you reach the end, then swipe at the wall to reveal an illusionary wall that leads back out.
There will be two Shark Enemies that you can immediately spot here, one of which guards an item on a platform above that can be accessed by jumping onto the ladder on the platform next to it. The item is a Consumed Knight's Helm. Jump off the other end and you'll encounter two more Shark Enemies. Head left to find a set of platforms that contain three Recluses, and lead up to two ladders. You can also find 2x Abyssal Eye (item), and a Reinforced Helm +9, before you reach the ladder at the top.
Davy Jones' Locker
Take the right ladder up to face a Recluse blocking the path to a Save Point Statue in the next room. Head right of the statue to find an Abyssal Eye (item). Reaching it will trigger an ambush of two Jellyfish enemies. After you've dealt with them, jump over the gap to kill the two Shark enemies guarding a living chest that grants you an Immortalite Stone once destroyed. Drop down the gap and try to land on the first platform here; bring some Crow Plumes as this may take a few tries (also much easier with the air dash). Jump up to the almost-sealed off area with the two Altar Mimics and a Shark Enemy guarding an Immortalite Stone. Once recovered, take a Crow Plume back.
From the statue, jump down and head left. Head up the next platform via the red coral right above the ladder, and fight the Shark enemies here. Head up the ladder, destroy the Altar Mimic, then ascend the next platform again. On this platform, you'll find two more Shark enemies, an Octopus enemy, and Consumed Knight Boots. Continue up the ladder, and two Jellyfish Enemies will attack you. You can also pick up an Abyssal Eye (item) and loot the chest (only if you haven't used a plume from the last save point) for a Cloak of Darkness.
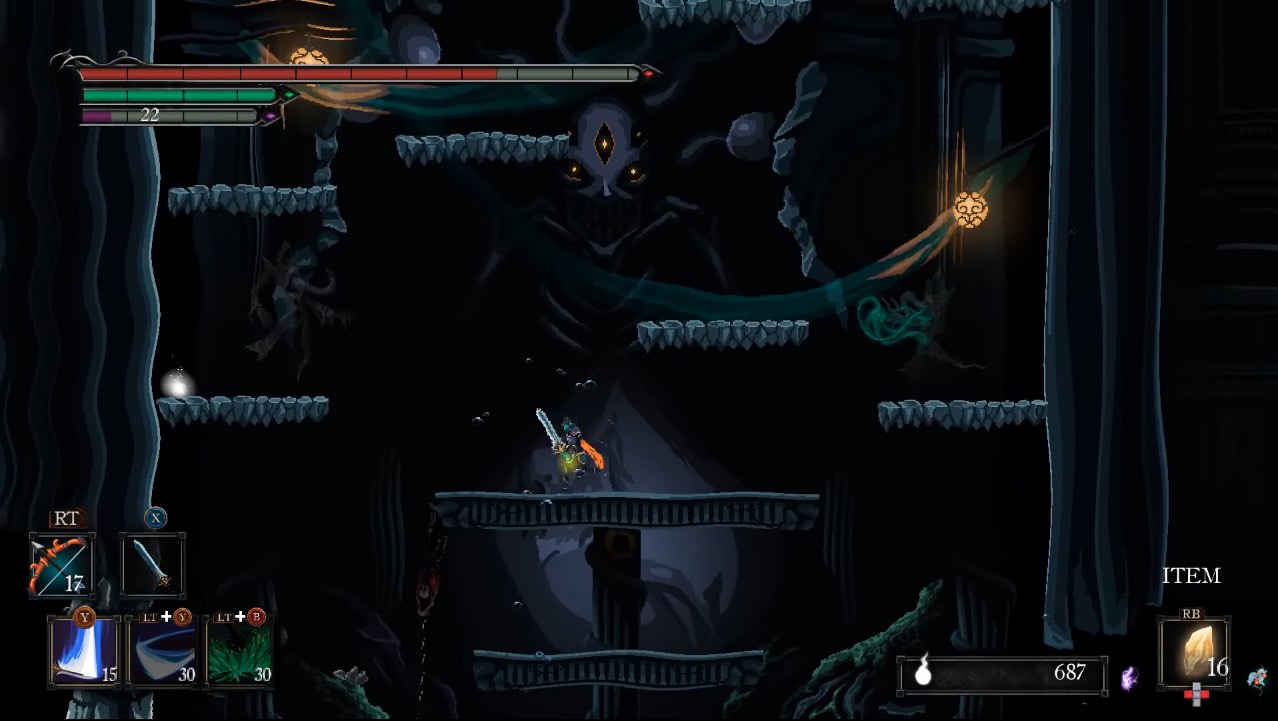
Return to the Save Point Statue to heal up, then drop down and continue left past the ladders. This will bring you to a corridor where you'll have an encounter with an apparition of Everly. Shortly after, you'll be asked a set of questions with no real ramifications before the boss fight begins.
Boss Fight: Thalamus
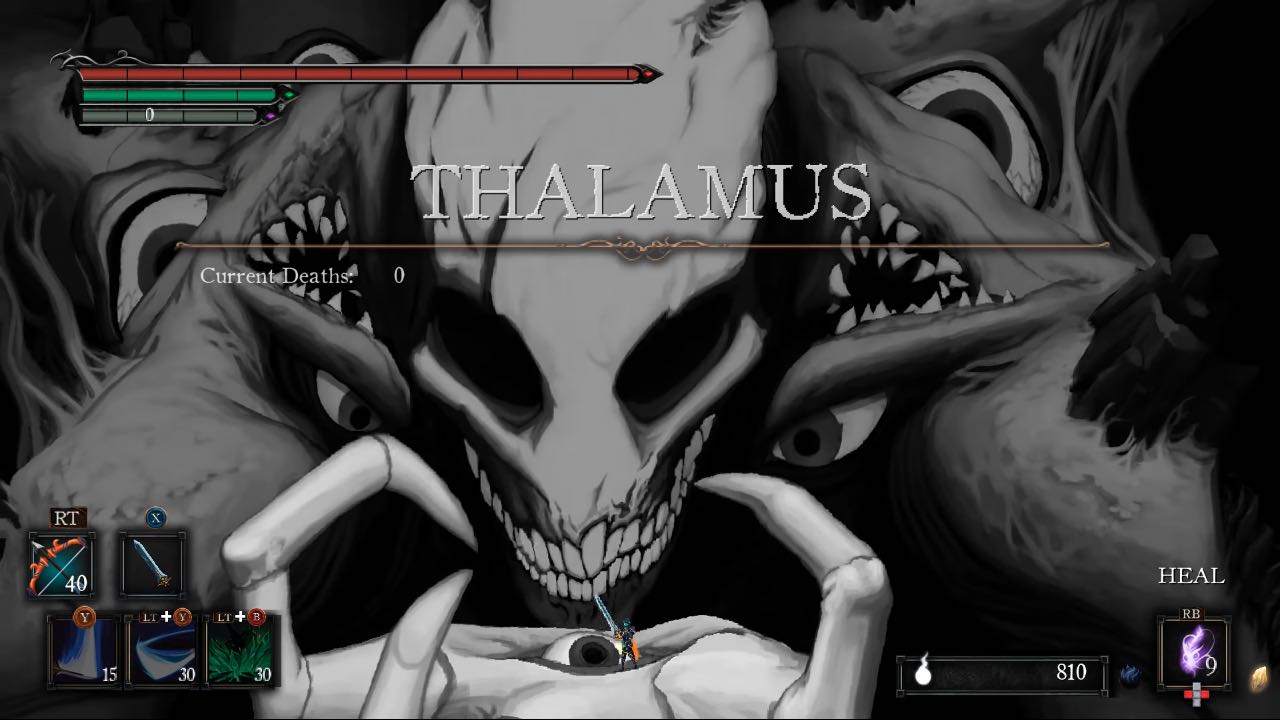
This boss fight is very different from the rest, as rather than trying to deplete Thalamus' health, you merely try to survive past all his obstacles.
Y'lnoth Video
Y'lnoth Map
[map goes here]
Trivia & Notes:
Y'lnoth is an obvious reference to the works of H.P. Lovecraft. His stories often mentioned cities deep underwater created and ruled by horrifying Elder beings.
This is also the only known area that cannot be revisited after the fight with Thalamus, making potentially missed loot like the Tortoise Shell unobtainable until the next playthough.
You can revisit it by not resting at any Death Statue and use Crow Plume to teleport back to the one you used last in Y'Inoth. However, you have to re-do the boss fight again in order to get out.
 Anonymous
Guess you can't enter Y'lnoth without the contract with death, Endless simply isn't there.

 Anonymous
Is this place even in the switch version? When I head to the right from that ladder all I see is a weird little city of frog people

 Anonymous
You can actually beat evenly if you stunlock her with enough damage, but doing so makes an unseen force kill you anyway.

It says you can visit Y'lnoth if you die too many times before you reach the point where the game requires you to visit, but how many deaths is that? It has to be a very high number that most wouldn't reach that, but somebody must have died that much for it to be input here.


There's another Immortalite Stone at the beginning if you head right before getting the other one on the left.
0
+10
-1