Aldwynn is a Locations in Death's Gambit.

General Information
- Previous: Central Authority
- Next: Garde Tum, Journey's End
- Recommended Levels: Any
- Bosses: Origa
Video Walkthrough
Aldwynn Map
[map goes here]
NPCs in the area
Bosses
Items
Consumables
- 1x Radiant Plume
- 1x Crow Plume
- 1x Leaf of Gaia
Weapons, Spells & Armor
Keys & Other
Enemies
- Drake Vanguard (Spear Knight)
- Hallowed Knight
- Bowgun
- Sword
- Halberd & Shield
- Elite Drake Knight (non-respawning)
- Slime
- Crystal Lizard
- "Priest"
Full Aldwynn Walkthrough
From the Tundra Lord Kaern boss fight, after you picked up the Amarog Key, return to Central Sanctuary. If you've freed Nymeria, you'll find her just above Bast, while Grimguard can be found through the unlocked door and down the long ladder, when entering the Sanctuary from the Rider's Passage. If you freed the man just after the boss fight, you'll also find him here, next to the big candle-lit Death-Statue save point.
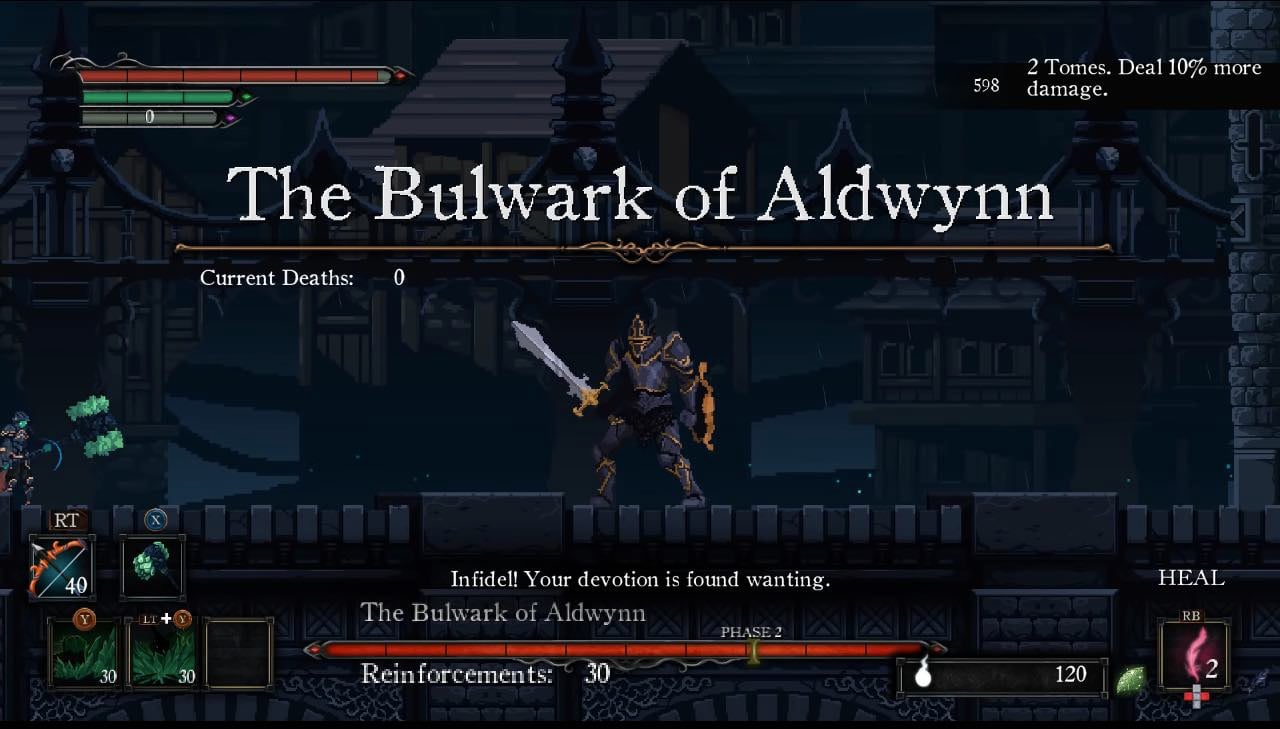
To get to Aldwynn, you need to head back to where you saw Vrael get beaten by The Bulwark, and proceed in the direction he went. This is the toughest boss fight you have done so far, as he's got loads of health, packs a punch, uses spells, and summons Hallowed Knights. Good luck!
Boss Fight: The Bulwark of Aldwynn
Into Aldwynn
Once you've defeated the menacing Immortal, you'll be granted the Bulwark's Shield. Proceed right to enter Aldwynn. Once there, Vrael will appear behind you and speak to you. Once the exchange is over, you'll find a save point statue ahead. When ready, proceed and climb the ladder to face a Drake Vanguard (Spear Knight), then drop over the other side to deal two Hallowed Knights (Ranged). Climbing up the stairs here will bring you to another fight with a Drake Vanguard (Spear Knight) and two Hallowed Knights (Ranged). You may have noticed the item atop the arch; this is a Moss Shield, and can be acquired by climbing the ladder then jumping off the top and landing on it - it may take a few tries, and you may have to swing your sword for the extra dash.
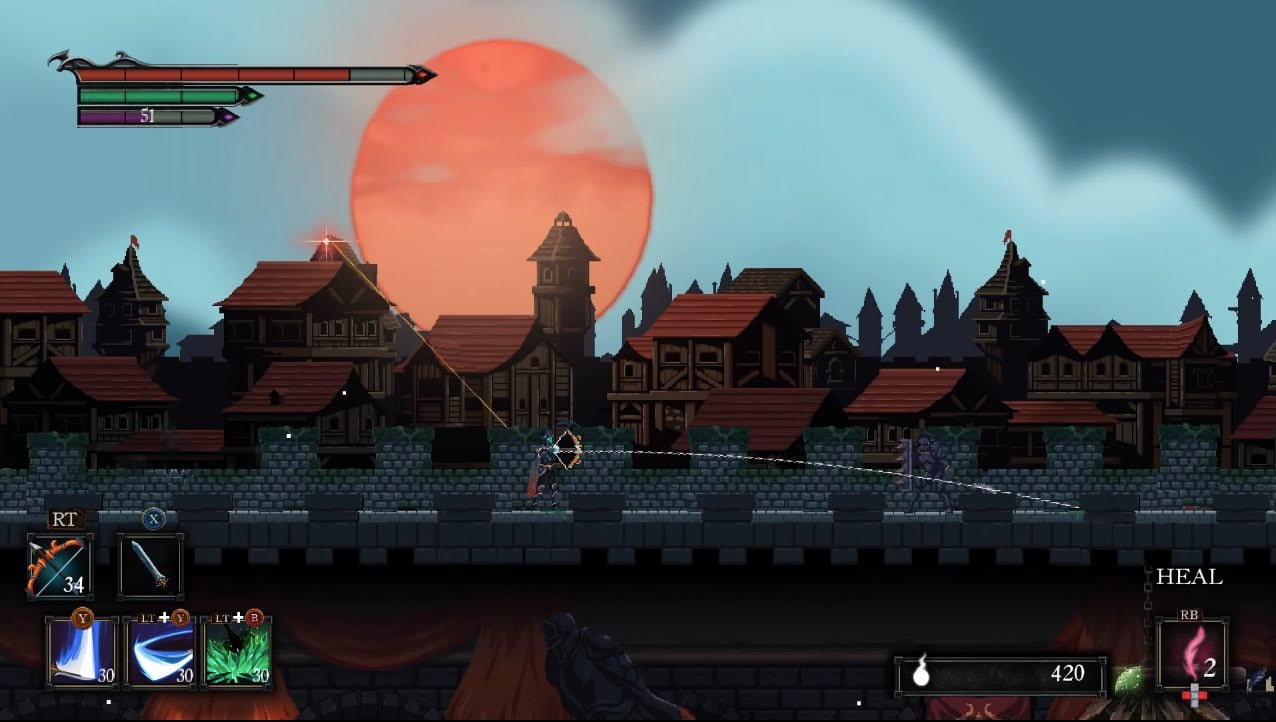
Climb up the ladder once again, and continue right.This next part gets tricky as there is a sniper from a distance that you cannot kill and have to deal with her shooting at you, while you fend off a bunch of enemies ahead. However, you can use your surroundings to break your her line-of-sight and you can tell if it's broken if the line representing it, is not directly touching you; beware as once an obstacle is used, it is destroyed and can no longer provide protection; you can also tell when the shot is coming as it turns from yellow to red.
As for the enemies you deal with on this bridge, the first one is a Hallowed Knight (Shield & Halberd). After him, a Drake Vanguard will drop from the sky. Finally, another two Hallowed Knights (1x Shield & Halberd, 1x Bowgun) before you are finally out of sight of the sniper. Here you'll find a chest on top of a platform, holding the Haste Aura.
Drop down and take the slope down. On the left, you'll find another Hallowed Knight (Shield & Halberd) with wooden sword traps hanging above his head. If you continue this way, you'll arrive at switch that allows you to open the gate on the other side of the wall. If you head right, you'll encounter an Elite Drake Knight. These are the toughest regular enemies you have encountered thus far, and may take you a couple tries to kill them. If you are having an unimaginable time with this one and you can't proceed, you can get around it; Run past him down the slope, passing a barrel that releases a Hallowed Knight, and down into the small space underneath to lure him here and jump out yourself to continue the level. Down here you can also find the Origa Tome.
Head back up the slope and continue right. Upon jumping on the ledge to collect the Crow Plume, a new "Priest" enemy will be there to attack. Much like the Shaman, this enemy only uses spells. Ahead there will be a save point statue (unless you've negatively interacted with Fink, in which case he blows it up), and head further right to progress. The next room holds a Radiant Plume and a wooden sword hanging trap, immediately. Continue to find another "Priest", and beyond her you'll see a small corridor holding two Hallowed Knights. BEFORE YOU PROCEED, beware of the trap ahead; the two visible enemies seem easy enough however the two spike floor traps beneath them, and the Shield & Halberd Knight that drops in to close you in, complicates matters. Take the visible ones out using range and trigger the third enemy to fall in when you're clear -watch the traps!.
Shortcut & Doors
Once you pass them, you'll notice a door you can enter, and a ladder you can descend. For now, take the ladder all the way down to find a save point statue and a bell to summon your horse. If you head left down here, you'll come across a set of doors that can be opened from your side. Opening them will allow you to traverse back to Central Sanctuary, along the bottom floor. Now that we've unlocked this nifty new shortcut, head back up the long ladder and into the door.
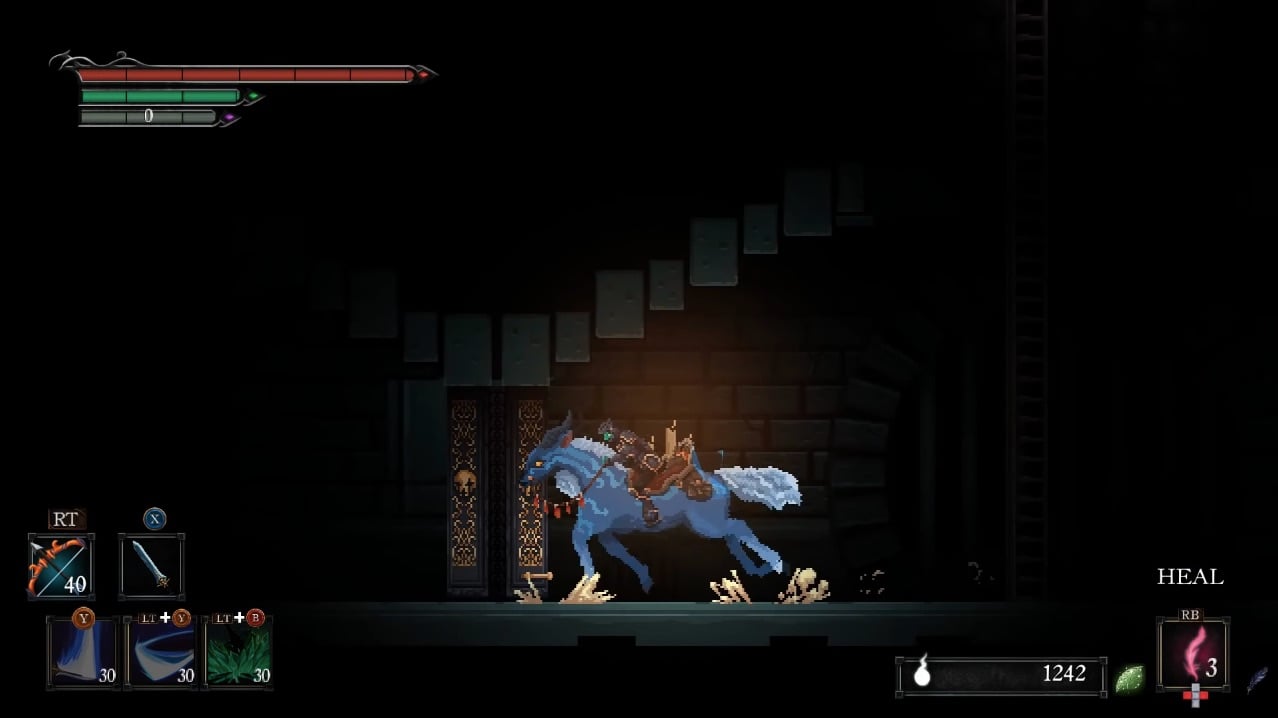
Upon entering, you'll immediately notice the lighting, or more so the lack of. Don't worry, this guide has you covered. Break the barrels then proceed right to fight two Hallowed Knights (Ranged). Use the boxes to get on the upper platform and pick up the Sun Stone, then continue in that direction to fight another "Priest". Once again using the boxes at the end to get to the higher platform, you'll find a Spear Knight and two Slimes, here guarding the Origa Tome. If you jump over the structure on the right, you will arrive at a chest that can only be opened if a Feather has not been used (refresh at the save point down the ladder). It contains a Bow of the Damned. Drop all the way down to the next door, and take out the two Ranged Knights here before proceeding out the door. Now you could've completely skipped going through the house but you would've missed out on the loot and would've had to face the Elite Drake Knight in between the two doors -that threat is still there if you want to head back down the ladder.
Continue east and you'll encounter a Shield & Halberd Knight, a "Priest", and a Crystal Lizard. You will see another two "Priests" ahead but avoid them for now and head into the house just before the steps. Once in, quickly jump to the platform directly above you and destroy the barrel before the Hallowed Knight can burst out of it and cause you trouble, then kill his friend on the platform across and pick up the Leaf of Gaia. Drop down the the lowest platform and sprint down the slope to collect the Church Basement Key then run straight back out, and out the house, as there are poison spraying things inside that will most likely poison you. Now head up the stairs to deal with the two "Priests", then proceed into the church building.
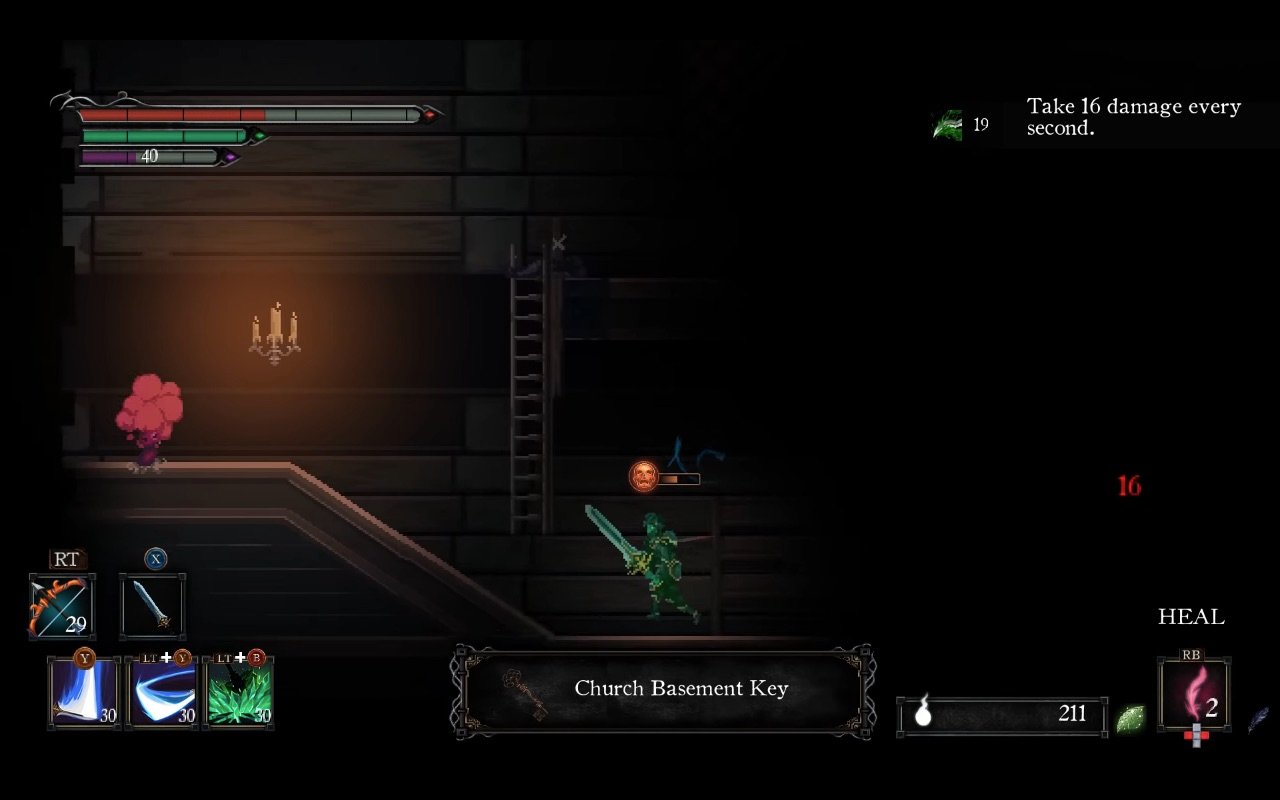
God's House
Once you head in you'll find a ladder down immediately. Dropping down here will allow you to use your newly-acquired key to access a ladder down to a save point statue. You can also collect a Feather Upgrade here as well. Head back up both ladders and continuing right will bring you to the boss of this area, in a cutscene rather than the actual battle. Once the exchange is complete, she disappears. This allows you to enter the next room where you will meet again, only there will be no talking this time.
Boss Fight: Origa
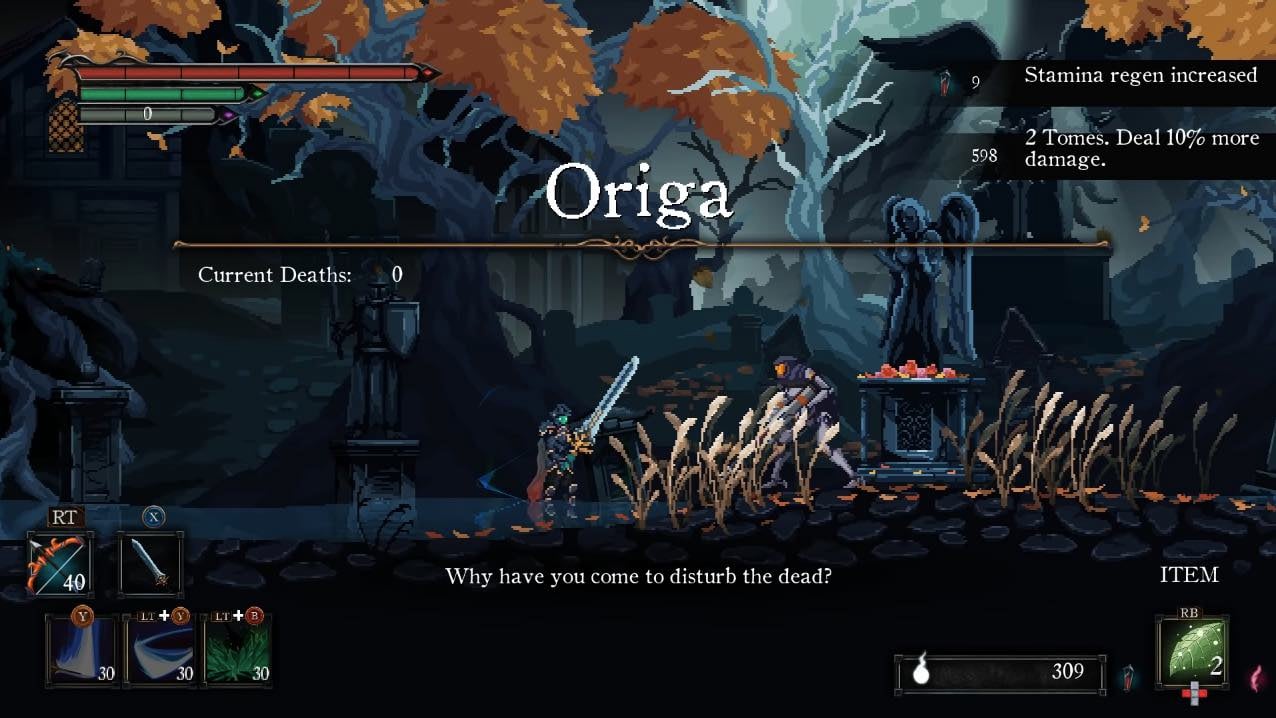
If you die to her, the first two times you'll be brought to a cell where she will speak to you from the other side. Once she leaves, you can hit the boxes on your left and pick up a suicide blade to summon Death and have him bring you out. This is why it is highly suggested not to take any plumes into the fight, the first two times.
Aldwynn Video
Aldwynn Map
[map goes here]
Trivia & Notes:
Trivia and notes go here
 Anonymous
When Origa puts you in the cell after a defeat, you can also use a feather to teleport to a rest place instead of commiting suicide.


i didnt know you were supposed to die:( i beat her first trry :(
0
+10
-1