Obsidian Vale is the player's first destination in Death's Gambit. This frozen mountain region features complex vertical connections and the player is challenged to explore fully.

General Information
- Previous: Central Sanctuary
- Next: Warden's Sanctum
- Recommended Levels: Any
- Bosses: Soul of the Pheonix, Tundra Lord Kaern
Video Walkthrough
Obsidian Vale Map
[map goes here]
NPCs in the area
Bosses
Items
Consumables
- 1x Crystallized Plume
- 1x Gaian Blood
- 1x Medicinal Plume
- 1x Fragile Courage
- 1x Leaf of Gaia
Weapons, Spells & Armor
Keys & Other
- 2x Kaern Tome
- 1x Pheonix Tome
- 1x Feather Upgrade
- 1x Sun Stone
- 1x Immortalite Stone
Enemies
- Cave Spider
- Ice Golem
- Slime
- Hallowed Knight
- Crystal Lizard
- Amarog
- Amarog Shaman
- Amarog Champion (Hammer)
Full Obsidian Vale Walkthrough
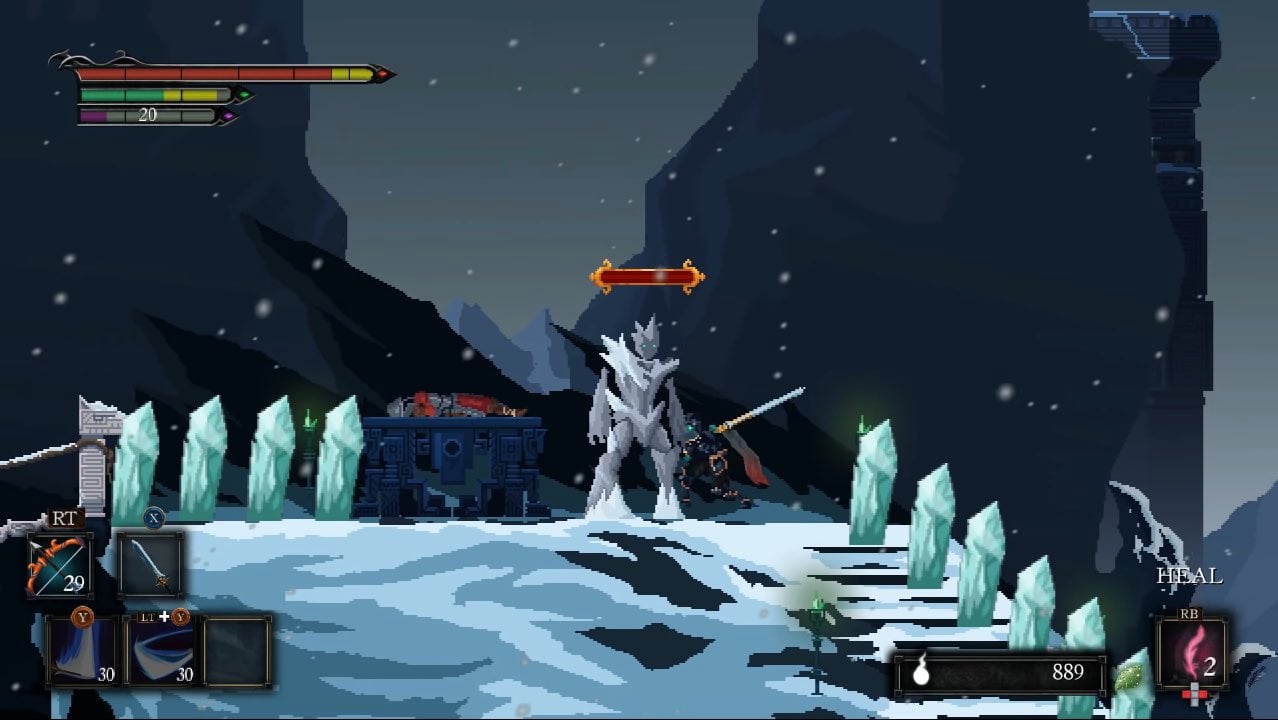
From the Central Sanctuary, head west and follow the route until you find the Drake Vanguard (Spear Knight) with the two other Hallowed Knights that have bowguns behind him, and a wooden sword trap hanging above them. From here, instead of going down the wooden platform, head up the ladder and jump onto the platform holding the Hallowed Knight and continue right until you find the second Pheonix Tome, guarded by a shield & halberd wielding Hallowed Knight. Head back across the platforms and ascend the ladder to the top, and pick up the Crystallized Plume. Continuing up the stairs will bring you to the boss fight.
Boss Fight: Soul of the Pheonix
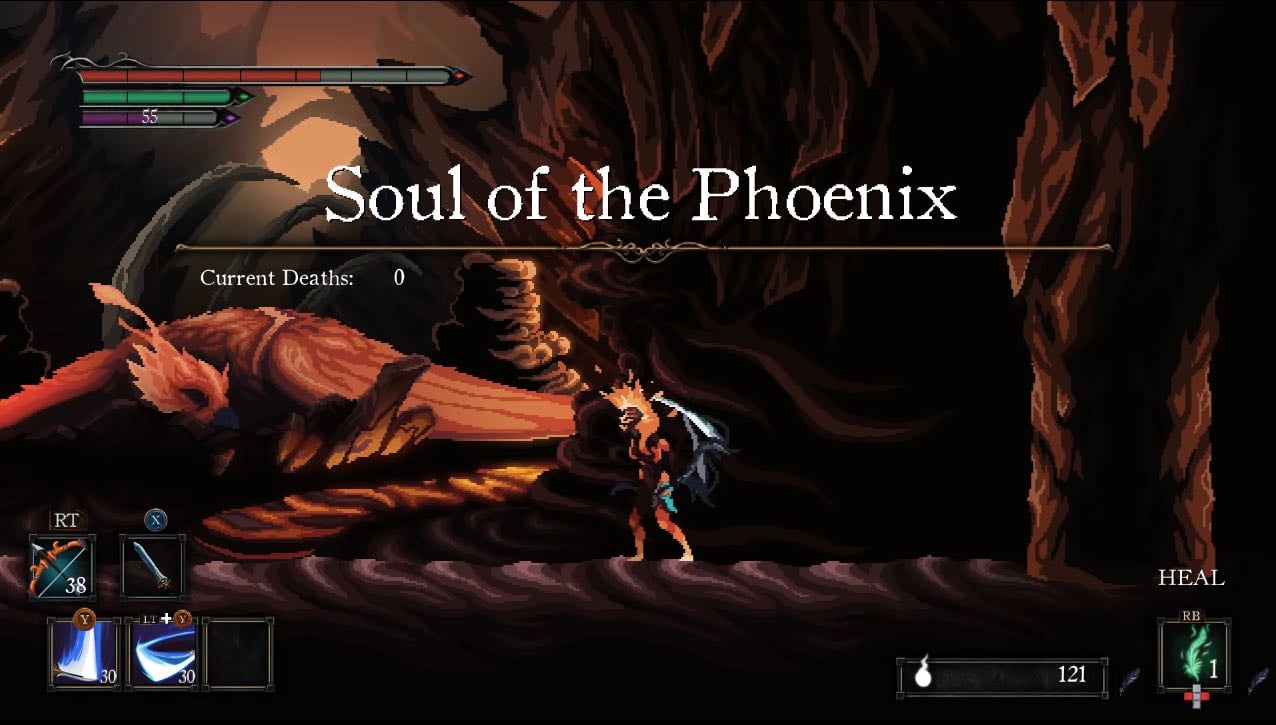
Vale-Bound
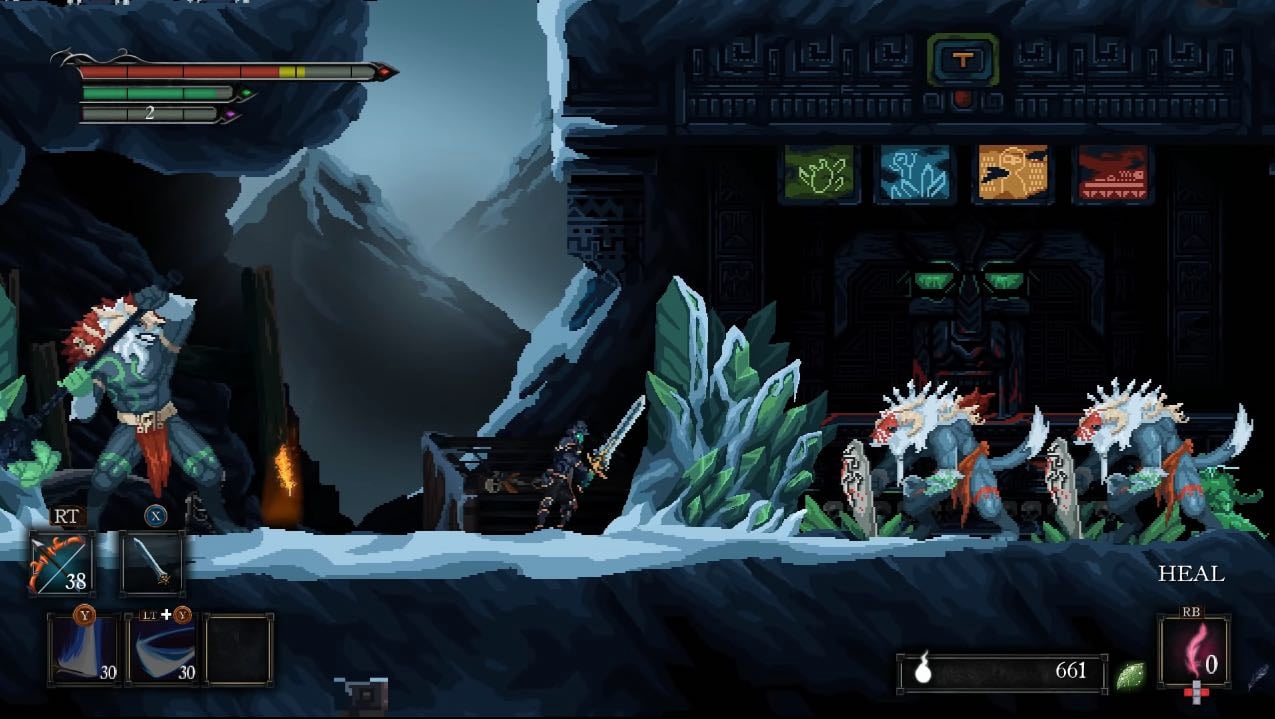
After Defeating the Soul of the Pheonix, continue west and you'll emerge at a save point statue called "Obsidian Vale", giving you a pretty good indication that you've arrived. However if that wasn't enough, proceed left to arrive at a big blizzard-hit area. The "Obsidian Vale" title will prompt shortly after continuing west, however before doing so, make sure to keep an eye on the floor here. There are two traps that when stepped on, shoot spikes vertically and deal heavy damage. This is also made harder by the new enemy just ahead: the Amarog Champion (Hammer). These humanoid-wolf creatures deal heavy damage and have a decent amount of health, which makes them the hardest regular enemy you've had to face but reward you with 50 shards.
Proceeding left you'll see an out-of-reach ladder which will be accessible later, and a wooden wall seemingly obstructing your passage; emphasis on seemingly as approaching it will trigger an ambush of a naked Amarog, wielding only a spear, making it much weaker than its clothed counterpart. After defeating him, proceed to encounter another variation of the species, an Amarog Shaman. The difference with this one, apart from the flashy outfit and greatshield, is that he attacks only through spells -once again, not as strong as the first one you encountered.
From here, head up the wooden platforms and collect the Gaian Blood, and continue up. On this platform you'll notice a living chest above that can only be reached through jumping attacks, and drops the Medicinal Plume. Head back down, making note of the giant horn above, as you will revisit it later. You'll find another Amarog Shaman followed by another Amarog Champion (Hammer), who drops the Crystal Greathammer, and then another Shaman. Defeating all of them will allow you to proceed into a cave that immediately brings you to a save point statue.
New Friends & Shortcut
The road ahead is a little tricky, as the floor spike traps that were previously are now in full motion -literally. They are set to go off in a pattern that is easily identified and can be timed correctly to avoid damage or death. Halfway through, you'll notice a wooden platform that you can drop down and collect the Kaern Tome. Head back up and continue left to encounter two NPCs trapped in cages: Nymeria and Grimguard. You'll need to find a key to set them free.
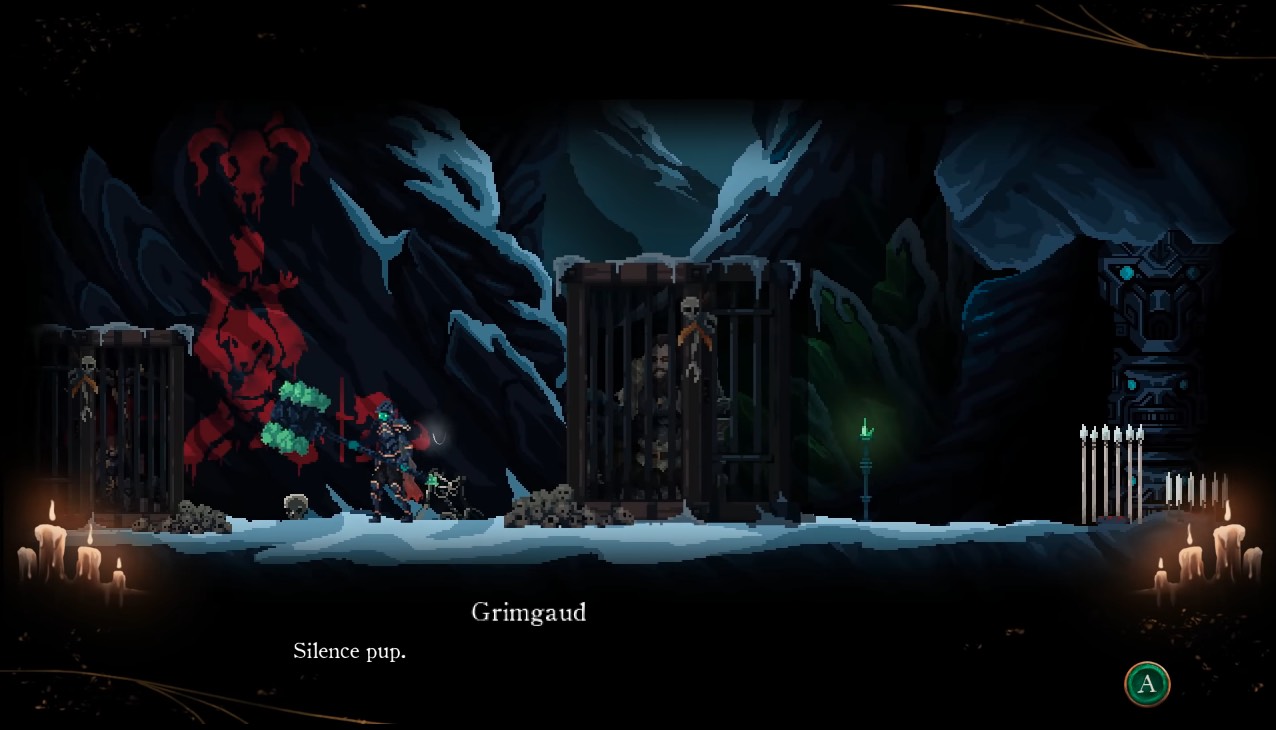
Continue straight down the path, ignoring the ladder momentarily. This will bring you to a partially-flooded cave, and a ladder at the end of it. Take the plunge all the way down and you'll notice a familiar door and lever. This is a shortcut to the cave before Alistair. Remember how killing him was an option to obtain the Skeleton Key? Well this key can come in very handy in the upcoming section as you can open every door in the game, including the cages of your newly-acquainted friends. However you can proceed to find the Amarog Key instead.
Blowing the Horn
Head back all the way up the long ladder to reach the ladder you ignored before opening this shortcut. Taking the first ladder will bring you to a platform containing a Hallowed Knight and the Vados Spear +2, locked behind a door requiring the Amarog Key. The very next platform will immediately hold two Slime enemies on the ceiling, and a Crystal Lizard that will lead you into some more of those floor spike traps. Kill it while trying your best to avoid the traps, and on the ver right is another locked door holding another Hallowed Knight, Padded Greaves, and another cave holding a cool statue and 3x Soul Stone. The next platform also holds a locked door containing a Fragile Courage.
Taking the final ladder up will bring you to a split platform, with routes left and right. Head left first, pretty easily dodging the spike floor traps, to obtain a Feather Upgrade. You'll also notice an item on the ledge above which currently is unaccessible. Head back over, and this time evading the traps is a little more difficult as there is a floating Ice enemy in the middle that needs to be killed. The best thing to do here is to take it out using ranged attacks then make sure to only take damage from one trap max, when you cross. Get across and you'll find a drop, and yet another locked door that contains two Hallowed Knights, a Leaf of Gaia, and another door that allows you to skip the upcoming battle.
Drop down the gap to fight another Amarog Champion (Hammer), and another two Shaman separated by an iceberg that lowers once the first one is defeated. You'll notice another iceberg also lowers on the left, which give you access to a chest that can only be opened if you haven't used a Feather in this run -if you have and want to obtain the item, simply die and come back without using one. It contains the Immortalite Stone. Once you've taken on the Shamen, proceed right onto a bridge that leads to the Horn we found earlier but couldn't reach. Using it will drop the metal ladder we also found earlier that was too high up to access.
Tundra Lord
Up the ladder you just lowered, you'll find a long staircase that is constantly hit with ice shards. Time yourself and sprint to the top to defeat the Spectre that is casting those shards. Head left and you'll find a bridge with an obvious hole in the middle. You want to fall down it, to retrieve the second Kaern Tome, and make your fight against the upcoming boss, easier. Head back up the ladder and across the bridges. You'll encounter another Amarog Shaman. Defeat him and pick up the loot - a Sun Stone. The final bridge before the cave entrance also has a gap which you do not want to fall through as there is nothing to gain here. Jump across and head into the opening on the left to emerge on the other side, at the next boss fight.
Boss Fight: Tundra Lord Kaern
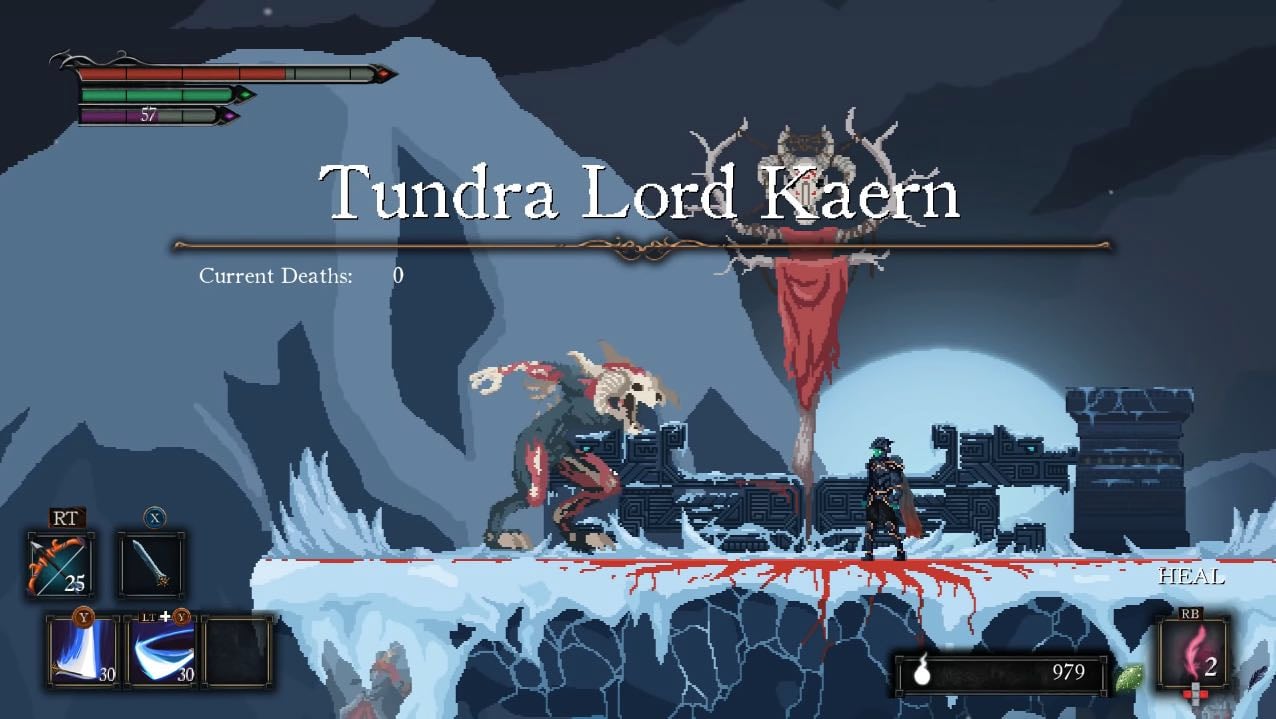
After defeating the Tundra Lord, proceed left and you'll find an NPC tied up. Free him and speak to him, and he will make himself available in Central Sanctuary for item enchantments. Continue into the cave past him, and all the way through, you'll find the Amarog Key. If you didn't kill Alistair and did not unlock all the loot along the way, you can now go back and revisit the area to collect everything, and free Nymeria andGrimguard.
Obsidian Vale Video
Obsidian Vale Map
[map goes here]
Trivia & Notes:
Trivia and notes go here
 Anonymous
Alright I wish these pages would update because unless I missed something they move the Obsidian Vale. You no longer get to the Vale from going west from the Soul of the Phoenix boss room. It now takes you to the Sky Tomb. Can someone who is playing Afterlife let me know where I need to go Thanks.

 Anonymous
Где мне в этой долине найти 1000 душ для квеста Обсерватории

 Anonymous

It's to the left of Skytomb, after defeating the boss. You will need to break crystals of different colours : red with attacks, yellow with items, purple with ???
I've done it once but can't remember how and am now stuck on second afterlife playthrough...
2
+10
-1