Journey's End is a Locations in Death's Gambit. The majority of its makeup is bridges and catwalks, some of which will shudder and collapse below the player's feet as they pass over them. The player is required to drop downwards in some places to advance until they reach the bottom where they will encounter the Eldritch Council. Exploring the area is best done by resting at a death shrine as some falls may be bottomless and lead to death.

General Information
- Previous: Garde Tum, Aldwynn
- Next: N/A
- Recommended Levels: Any
- Bosses: Eldritch Council
Video Walkthrough
Journey's End Map
[map goes here]
NPCs in the area
Bosses
Items
Consumables
- 2x Gaian Blood
Weapons, Spells & Armor
Keys & Other
Enemies
- Poison Zombie
- Alien Octopus
- Recluse
- Altar Mimic
- Phantom
- Hallowed Knights
Full Journey's End Walkthrough
After you defeat the Bysurge, head right and use the panel to open the door. Proceed through it and you'll arrive at a Save Point Statue, and the title will prompt, letting you know you've arrived at Journey's End.
Aldwynn Shortcut
Head right and up the ladder. As soon as you climb it, the candlelight up here will go out but have no fear, simply run right and continue to do so until you reach a cell holding a new enemy: Poison Zombie. These guys look like zombies with a big red sac on their backs, that burst when they are killed, leaving behind a brown gas; this gas fills up a meter (much like poison) that reduces your total health when filled, and the only way to reverse it is to use a Panacea. It won't attack you initially, but will do so once you've passed its cell. Ahead, you will also be attacked by an Alien Octopus.
Continue on and you'll arrive at a Save Point Statue in the next room. Run across the brown bridge and deal with the two Poison Zombies at the other end, then climb the ladder. This will bring you to another set of doors that open from your side. Once you've done that, head left and up to open the next set of them. This will bring you to a bell, a Save Point Statue, and a ladder that leads up to Aldwynn. If you head into the other room on the right, you'll find another ladder that is blocked at the top for now. Head back down to continue your journey.
Journey's Beginning
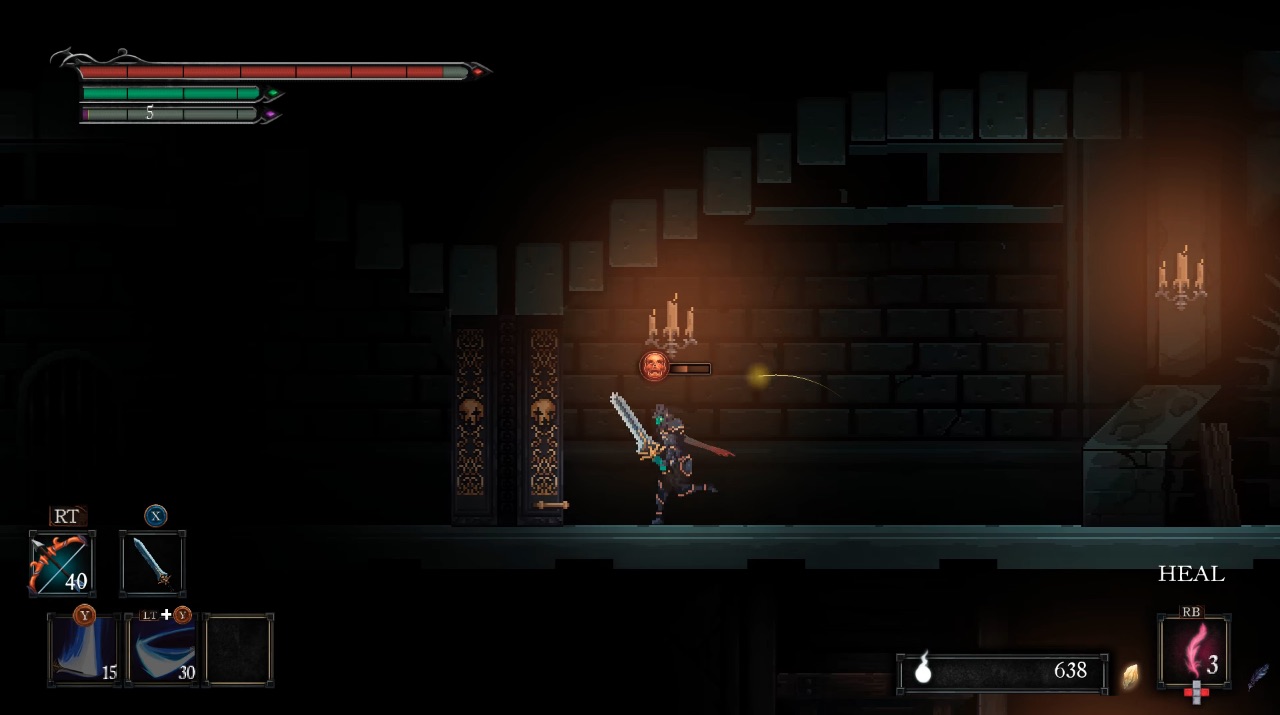
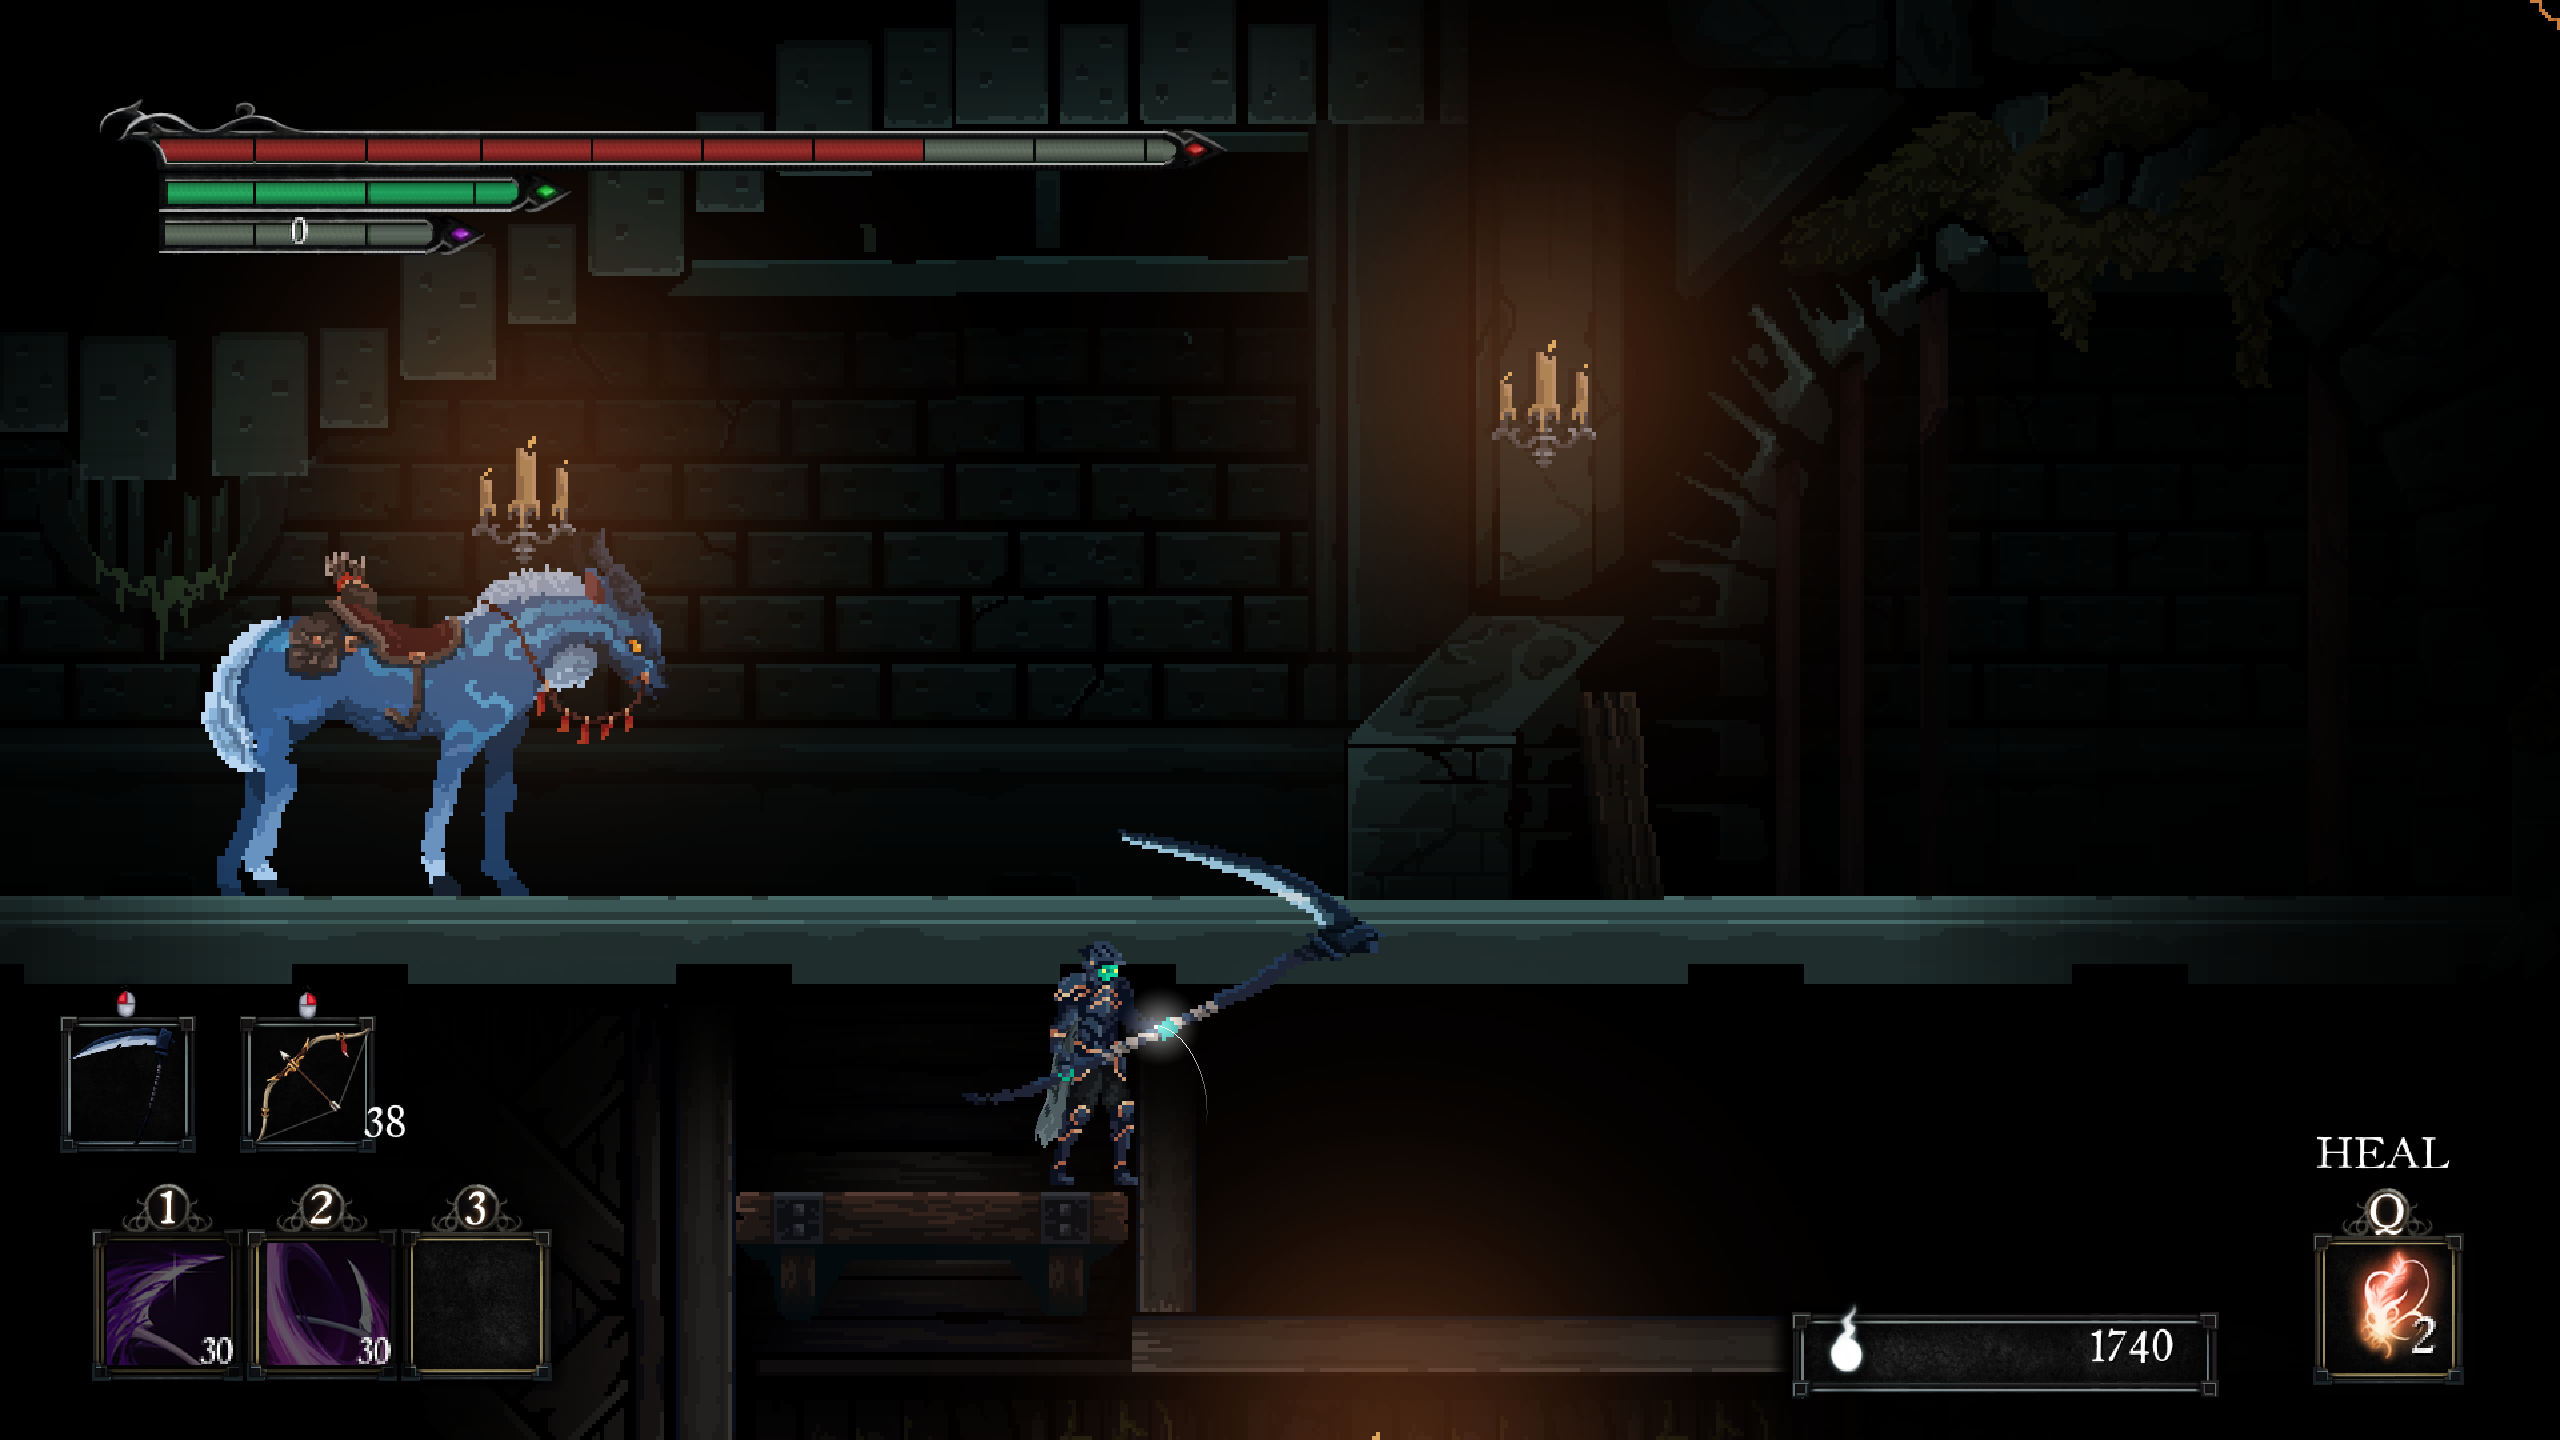
Head right at the bottom of the first ladder you took to open the shortcut, and you'll find a ladder down, and a cell gate beyond it. This gate requires a key you have yet to obtain (unless you killed Alistair and acquired the Skeleton Key) so drop down the ladder. From here, jump to the platform on the left to face a Recluse. Continue in the same direction and drop to into the broken cage to retrieve a Gaian Blood. Drop down the gap here to fight another Poison Zombie and pick up the Blindfold.
Head right now, passing the ladder that brings you back to the previous level, to face two Phantoms. Here the pool of blood builds up your no-no meter so avoid fighting within it. So quickly pick up the Acolyte Scythe +5 inside it, and lure the Alien Octopus out the pool to fight it. Once it's been defeated, sprint across to avoid taking damage and jump onto the what looks like the ladder mechanism elevators, only this time they rotate instead of moving vertically or horizontally. When you get off it on the other side, you'll meet Ash. You can speak to her for lore, enchantments, disenchantments, and learn abilities. Behind her, you'll find a chest containing Reaper's Maw.
Take the mechanism back over to the other side and head down the ladder, where you will be greeted by another Recluse. Head right and you'll encounter a few swinging blades. After passing the first one, you'll find a couple more, guarded by three Hallowed Knights (Bowgun). Making this trek is worth it as you can acquire the Ivory Key at the end. This key allows you to access to all locked places in Journey's End (if you didn't already have the Skeleton Key).
Ivory Padlocks
Head back to the ladder and head right. If you wish before doing so keep heading right from the ladder up and pick up the Flare Plume then proceed back up the previous ladder. You may now open this door. In here, you'll find another Recluse that will drop the Specter's Cape, and the first of two Eldritch Council Tomes. You'll also find the Magister's Shoes at the edge, and will have to fight a Phantom for it. Head back out the door you entered from and up the ladder. Once again, head right to open the door. In here you will find what appears to be a lot of Save Point Statues, however they are Altar Mimics. Destroy them all and proceed right to find another Recluse. After you've defeated it head to the last broken wooden board (only has 1 stick across instead of two and more noticeable rope) and let it break under you. When you drop, force yourself to the right to acquire the second Eldritch Council Tome. Head left and drop down to arrive back at Ash.
Head back up to the doors concealing the Altar Mimics, and this time instead of dropping down the wooden boards, proceed all the way through to the other side. You'll find another spinning blade and a Phantom. You'll find another wooden boarded walkway and a spinning blade above it. Break the first two boards by standing on them and this time, fall to the left. This will land you at a living chest guarded by a Recluse. Destroying the chest grants you Greed.
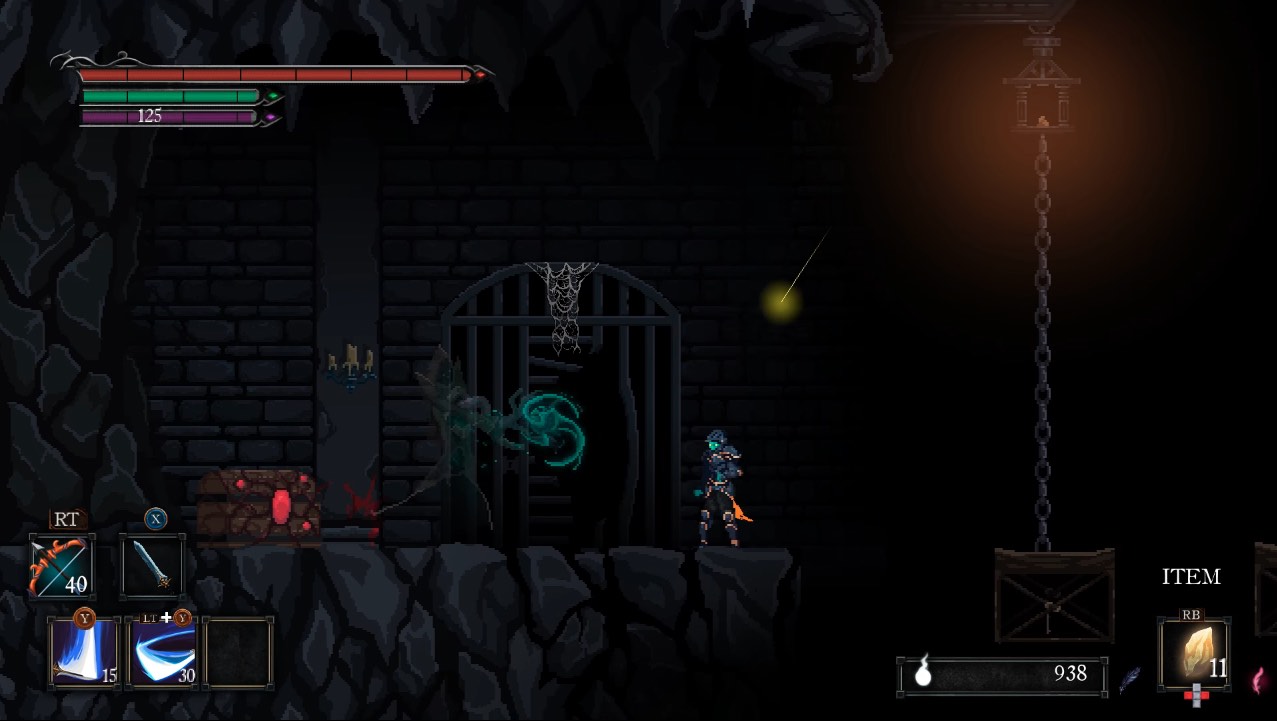
From here, jump across the wooden platforms and the spinning blade to get to the ladder. As soon as you do, three of those Poison Zombies will attack you. Once you've cleared them, another three will attack, two of which burst out of the cells when you've passed them. Past them you'll find a Save Point Statue and a ladder. This ladder takes you up to a broken cage you can climb up to retrieve the Cultist Greaves, on the right. If you head left up here, you'll encounter an Alien Octopus and two Poison Zombies, and a previous area of the map.
End of the Council
Head back down the cage and to the Save Point Statue. Head left, and down the ladder to head left and quickly pick up the Gaian Blood before going right. When you land on the stone platform, 4 Phantoms will spawn. Once you've defeated them, continue in the same direction and head down the ladder but don't be fooled -this is not a real Save Point Statue so destroy it. Head left and kill the Alien Octopus by the swinging blade then proceed in the same direction, falling into the cage and breaking the wooden board inside to drop down into the boss area.
Boss Fight: Eldritch Council
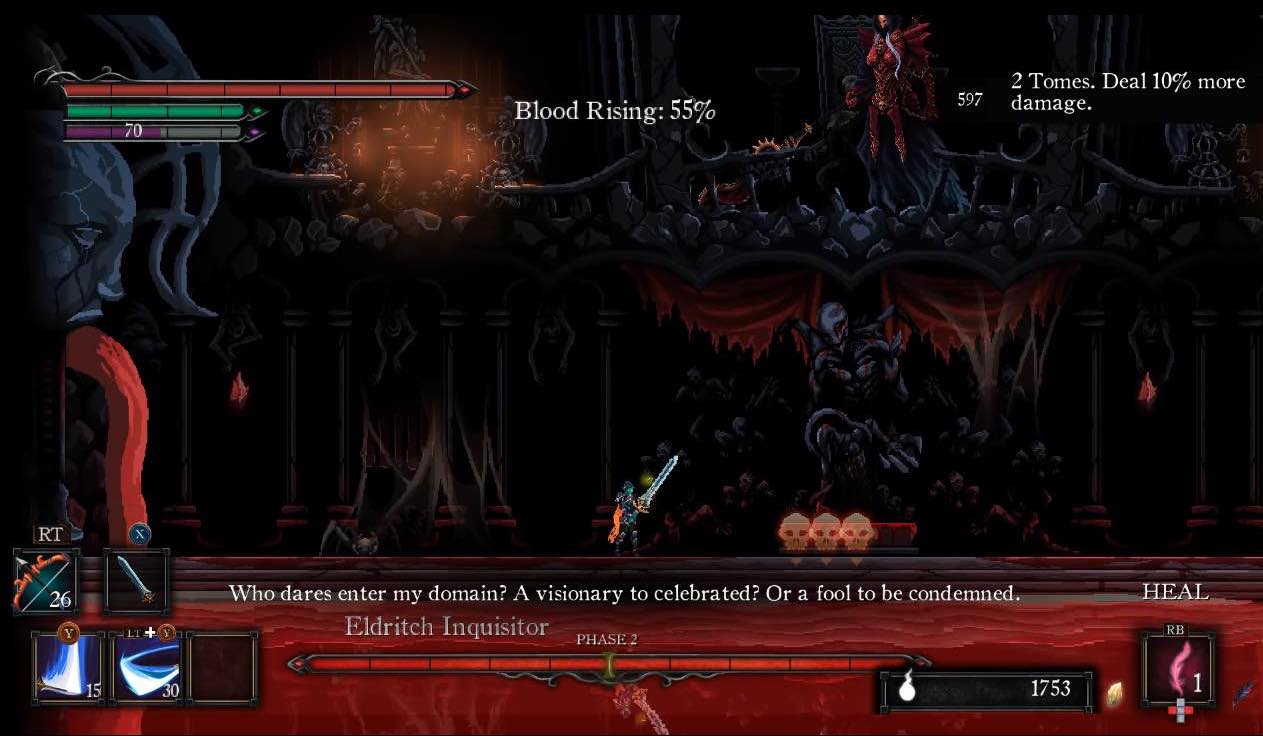
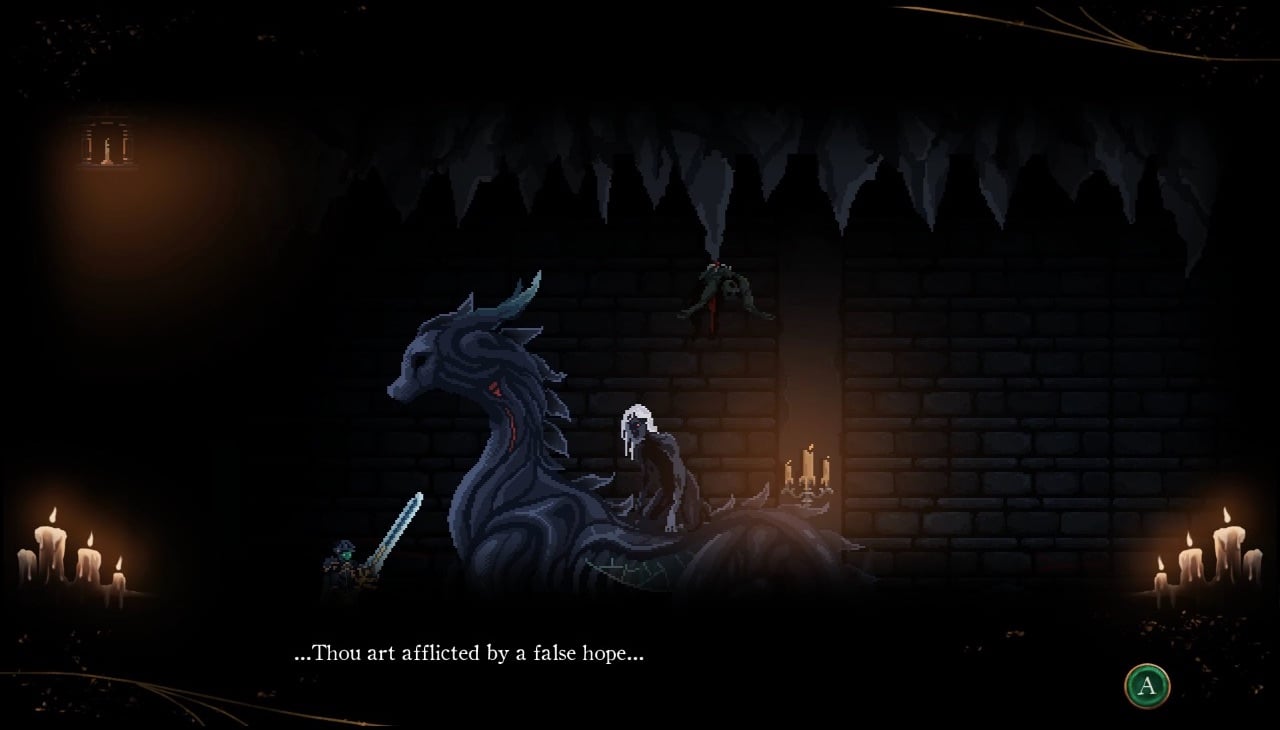
After you've defeated the council, you will find your mom, and a cutscene with Death will occur.
Journey's End Video
Journey's End Map
[map goes here]
Trivia & Notes:
Trivia and notes go here
 Anonymous
A note on the “contagion” status effect. If infected, returning to Sanctuary and interacting with the NPCs there will infect them. They will die in a few screen transitions ( leave the area come back). I would recommend having at least one panacea to cure yourself before leaving the area for any reason. You can get them from Alistair for 300 shards each. He can be infected as well so be careful.


By far the scariest place for a no contract run: pitfalls for dying, and tentacle monsters raising your fear if you get hit.
0
+10
-1