Garde Turn is a Locations in Death's Gambit.

General Information
- Previous: Darkness Falls
- Next: Journey's End
- Recommended Levels: Any
- Bosses: Bysurge
Video Walkthrough
Garde Turn Map
[map goes here]
NPCs in the area
- None
Bosses
Items
Consumables
- 3x Sun Stone
- 2x Immortalite Stone
- 5x Soul Canister
- 3x Soul Stone
Weapons, Spells & Armor
Keys & Other
- 2x Bysurge Tome
Enemies
- Migrant (Zombiebot)
- Migrant Remains (Zombiebot Remains)
- Assassin Droid
- Vortex Drone (small GT drones)
- Crystal Lizard
Full Garde Tum Walkthrough
If you thought Darkness Falls was dark, you're in for a treat. Head left after defeating the Dark Knight, continue left to enter Gard Tum.
Can't See a Thing
Shortly after entering, you'll find a Save Point Statue. Continue in the same direction until you are prompted with a "Use Panel" which activates an elevator that takes a deep plunge down. At the bottom, there will be a creature asks you to put it out of its misery before fleeing. Before continuing in its direction, use the elevator panel once again but jump off it immediately as this grants you access to the platform beneath the elevator, where you can collect a Sun Stone. Jump back up then continue right.
On your way, you will come across what looks like an item but once you step over it, will start to blink in red -get away from it as fast as possible as this is an explosive. Continue a little further and you'll activate a TV screen, and then two red lazers that reanimate the two Migrants; apart from the electric shock they send along the floor, these enemies are easy enough to deal with; however they need to be put down twice as the first time, they merely become Migrant Remains which can be hard to deal with in large groups, so be careful. A third Migrant wakes up shortly after your initial encounter.
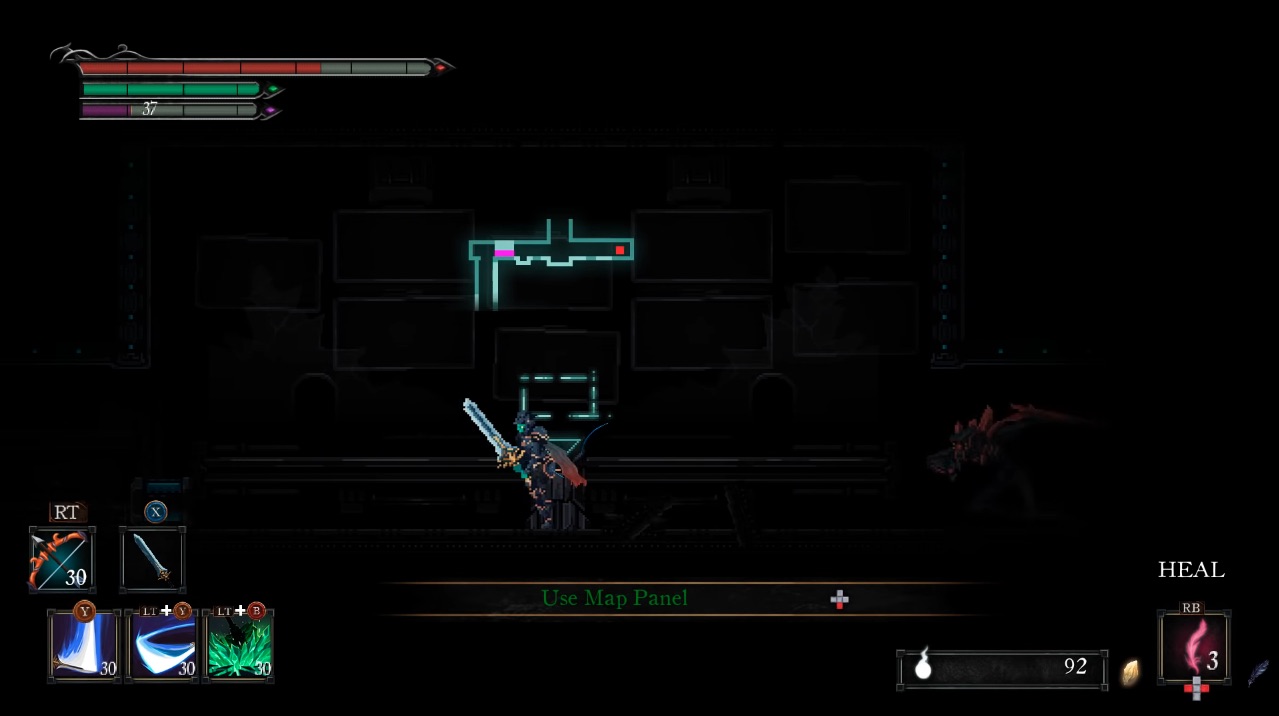
Continue on until you are prompted with a message reading "Use Map Panel", and use it. On this map panel, the red represents you while the pink represents the minigame that lies ahead. At the map panel, you'll also encounter another new enemy: the Assassin Droid. It will attack you as soon as it sees you, so be prepared to counter. After reading the map, head back in the opposite direction, past the elevator you came down. Eventually you'll come across an area with 5 platforms, 4 of which contain a flashing orb. The minigame -emphasis on mini- is to walk in front of all 4 orbs in quick succession. The light in the middle will turn on and the orbs will remain green, to let you know you've completed it. Stand beneath the white light panel and activate the elevator to take a deeper plunge into the Garde.
In Too Deep
At the bottom, use the same trick you did earlier to raise the elevator so you can access the lower area to claim an Immortalite Stone on the right. Next to the elevator, you'll find a Save Point Statue. From here, head right where two Migrants stand between you, and a Soul Canister and the H7 Lancer -a pew pew gun!- and you can test it out against the Vortex Drones directly in front. Head left now, jumping over the red lasers and kill the two Migrants. Continue and you'll enter a room with a panel next to you, and an Assassin Droid across you; using the panel drops the floor in front of you and can be used to kill the Droid ahead by luring it, then dropping the floor. Head across and pick up the Soul Canister and you'll notice another droppable platform, this time with the panel on the other side and an Assassin Droid in the middle.
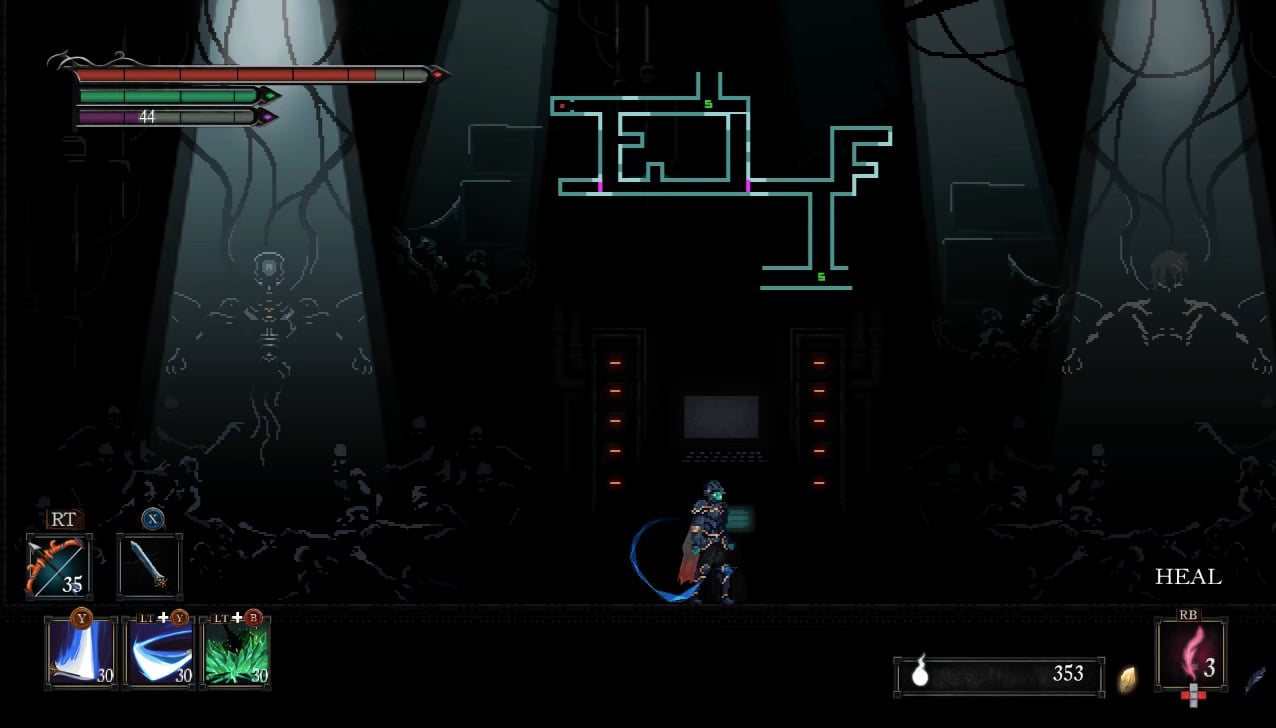
Continuing left will bring you to another room where you'll find another Soul Canister and the first Bysurge Tome. Continue past the pool of blood into the next room. Stand at the light panel and you'll be treated a short cutscene, and another map will appear right above you.
Mapped Out
Head back out the room and across the pool of blood, and drop down where you had previously jumped over. J on the platform with the 3 glowing floating orbs, then quickly jump off to the right and kill the Crystal Lizard. On the right there will be three Vortex Drones guarding the Energy Cloak. If you head right, you'll come to a seemingly-dead end, however if you double jump, you can land on a platform and swing on the red light to make it go green -a Sun Stone could come in handy to see where you can jump.
Head left and pick up your fourth Soul Canister of the area, and drop all the way down the metal platforms until you reach the bottom with several Migrant Remains. Kill them, then head left and jump into the wall to come out the other side. As you'll be able to tell, there's a line of exploding orbs leading to an Immortalite Stone; the easiest thing to do is to sprint across and hope to only take a bit of damage by the last.
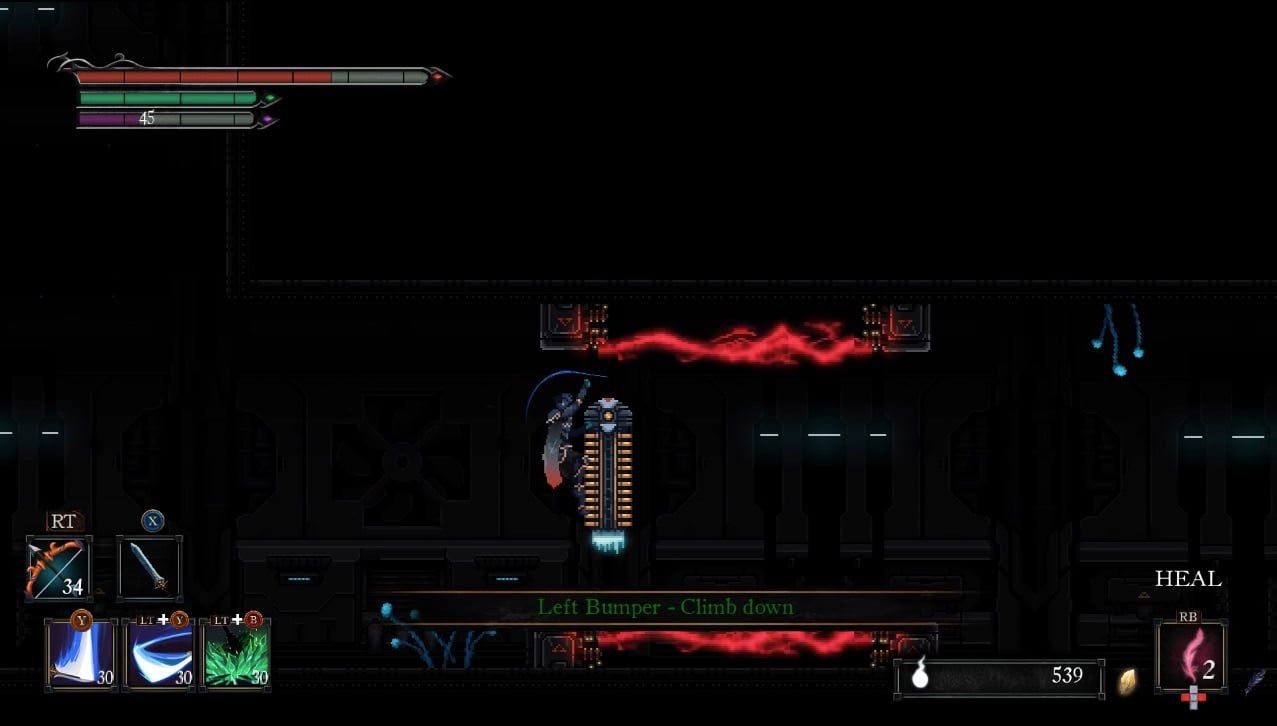
Head back out and to the right, and you'll come across a laser obstacle. While you may be able to jump through it, the safer option is to wait for the floating ladder-type mechanism and jump onto it as if you were staying in place on a ladder. Drop off the other side and destroy the three Vortex Drones. You'll find another ladder-type mechanism, only this time there are no lasers and it moves vertically. Jump onto it and off on the platform above to collect the Energy Shield. Drop back down and continue right until you come across four Vortex Drones, and a panel that reads "Need Energy Cell". To this point, you haven't acquired this yet so make a note of this for the future, and continue right.
Biggest Map Yet
You'll see another one of those mechanisms but nothing to collect or access. As you move closer, you'll notice the massive Red Robot enemy. Beware his lightsaber can be very painful and mess with your healing, and electric shock waves similar to that of the Migrants'. Once he is defeated, proceed.
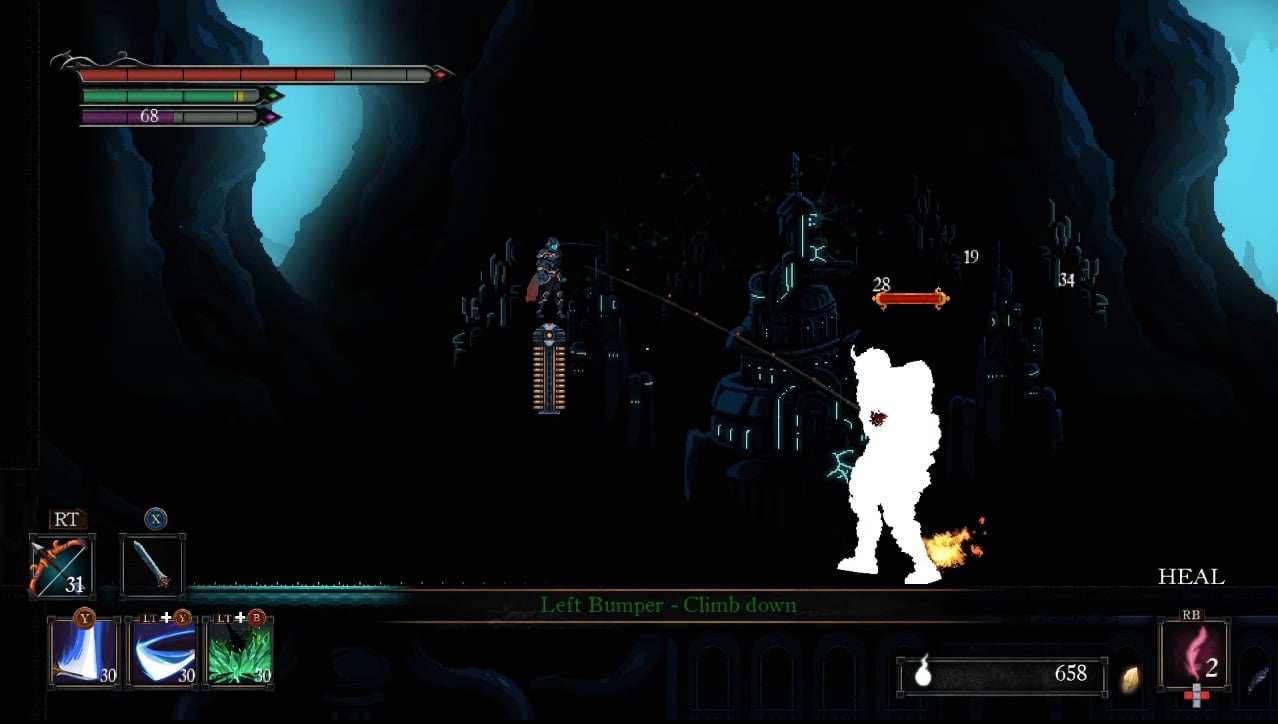
In the next room, take the ladder mechanism up. The first platform you come across will hold an explosive, rather than an item. Immediately jump for the next mechanism. From the second, jump to the third and use that one to get to the platform with the glowing purple item to collect your 3x Soul Stone then take the same one up to two platforms -all of these are explosives- and time your jump so you can jump to the next without taking damage. Take this final one to the metal platform and use the panel to allow you to jump onto the level with the yellow electronic board. Continue left, taking care of the Vortex Drones and picking up the Soul Canister, you'll find two Migrants. Defeat them and access the Save Point Statue.
Head back down all the ladder mechanisms until you reach the bottom and continue right. In this room, jump past the first red and wait for the ladder mechanism on the second. Take it all the way up and shoot (or jump attack) the red crystal, turning it green; this will be the second you've done and as you can, you have to do four to gain access to this room. Drop back down hugging the wall of the platform you just dropped as you are trying to enter it. Here you'll find the second Bysurge Tome.
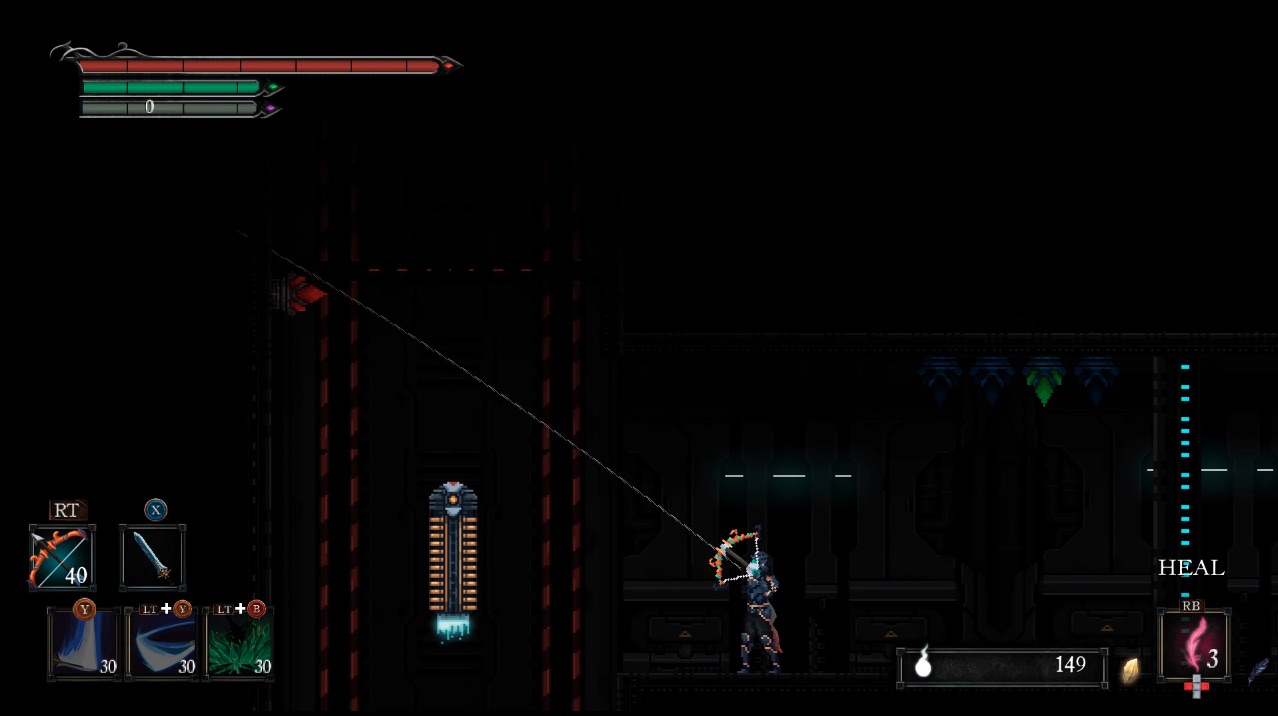
Drop back down and head back to the red-outlined area you jumped over, where you will now be prompted with a "Use Panel". This brings you a long way down to a Save Point Statue. Head right and you'll find an Assassin Droid. Past him is a set of platforms that lead up to a Sun Stone, with several obstacles in between including flying electric orbs, exploding orbs, and Vortex Drones. You'll find another one of those crystals you need to hit to turn green, to the left of the item you just picked up. Continue right to find more of those small flashing orbs that need to be walked over to be activated, some of which are next to another Sun Stone. This activates a map that shows a shortcut down, to your right, up the platforms.
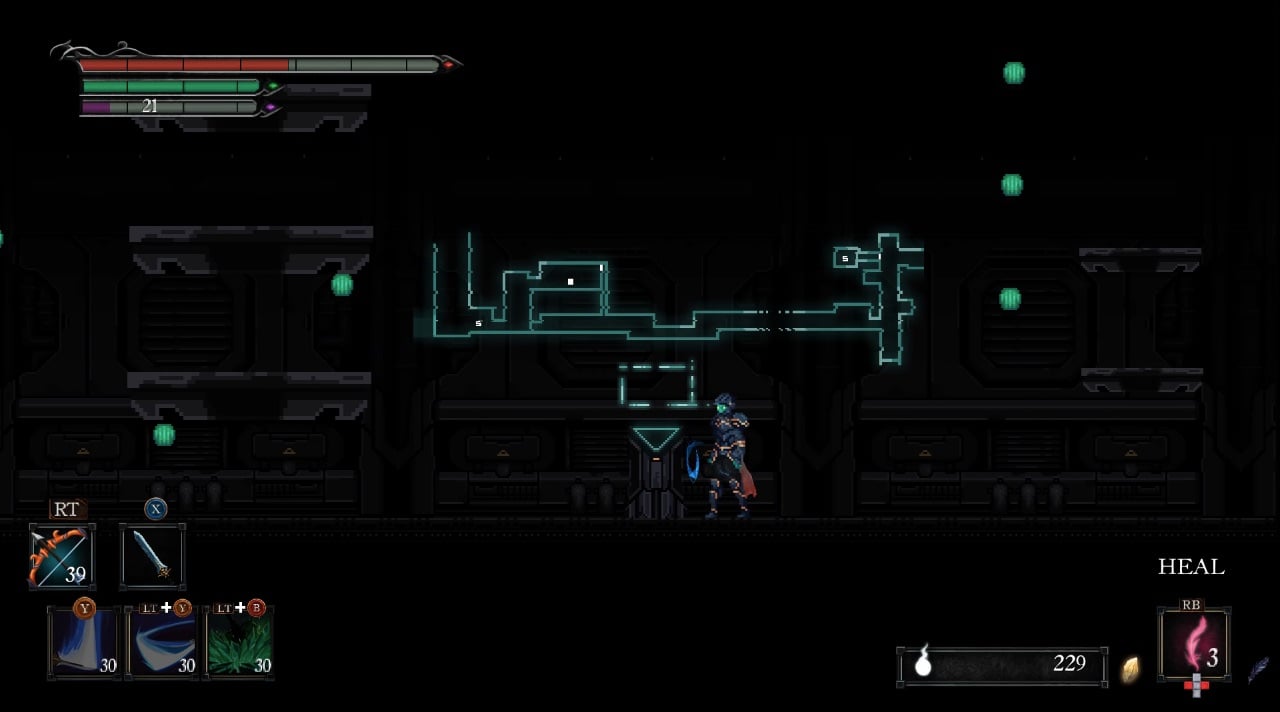
Take this down and you'll land next to a big ol' monster, ignore it for now and head left. Immediately, you'll have to face another Assassin Droid and Vortex Drones. Continue in this direction and use the panel to gain access to the last Save Point Statue you visited. After you've rested, head right -the monster won't be there anymore- and continue until you reach the next room.
Polarity Run
This next room is a little different as you can probably already tell by the two machines stacked on each other. These two machines give you a different polarity effect each, and they both affect your encounters with the upcoming enemies:
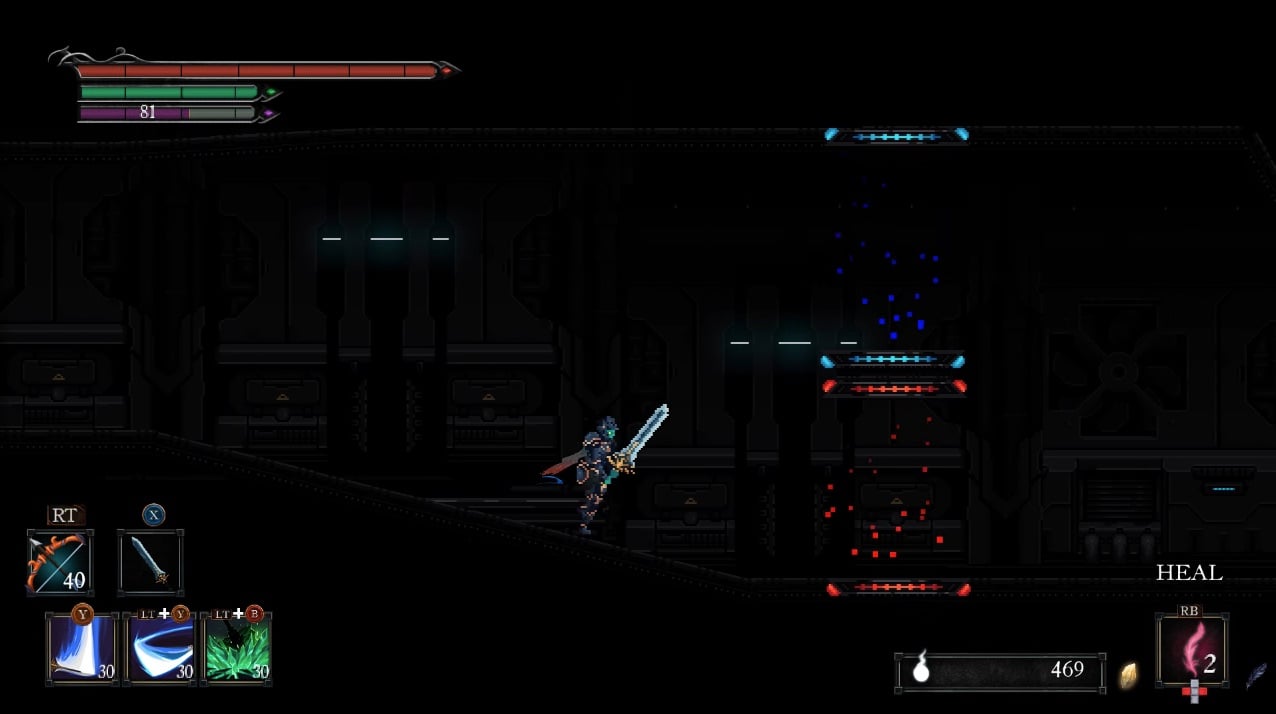
- Blue
- Going through the blue machine will give you the Positive Charge status effect.
- This means you do more damage to negatively charged (red) enemies ahead.
- Red
- Going through the red machine will give you the Negative Charge Status effect.
- This means you do more damage to positively charged (blue) enemies ahead.
You can simply switch between the two by going through each machine, and there is no limit as to how many times you can swap. The enemies ahead will all have a charge status effect as well, some blue, others red. So you may choose whichever you deem most suitable, or return every time you encounter a differently charged enemy -although that might be too tedious and hard in the coming rooms as the challenge becomes harder.
Room 1 (Polarity Machine Room)
Room 2
Positively Charged Enemies
Negatively Charged Enemies
- 6x Migrant
- 13 x Vortex Drone
Loot & Non Charged Enemies
- The Swarm (Loot)
- Mounted Laser Turret (Enemy)
At the end of the second room, you'll find another set of vertical platforms. While being wary of the big levitating electric balls, descend to pick up the Soul Stone, then make your way up. The platform you are trying to get to now has two white orbs and a purple one; the whites are bombs while the purple is the Anti-Gravity Field -grab it. Continue making your way up, and head left at the top, picking up a Crow Plume next to a negative charge machine. Continue this way and you'll find a Save Point Statue. Directly next to you, you'll find Death playing a video game.
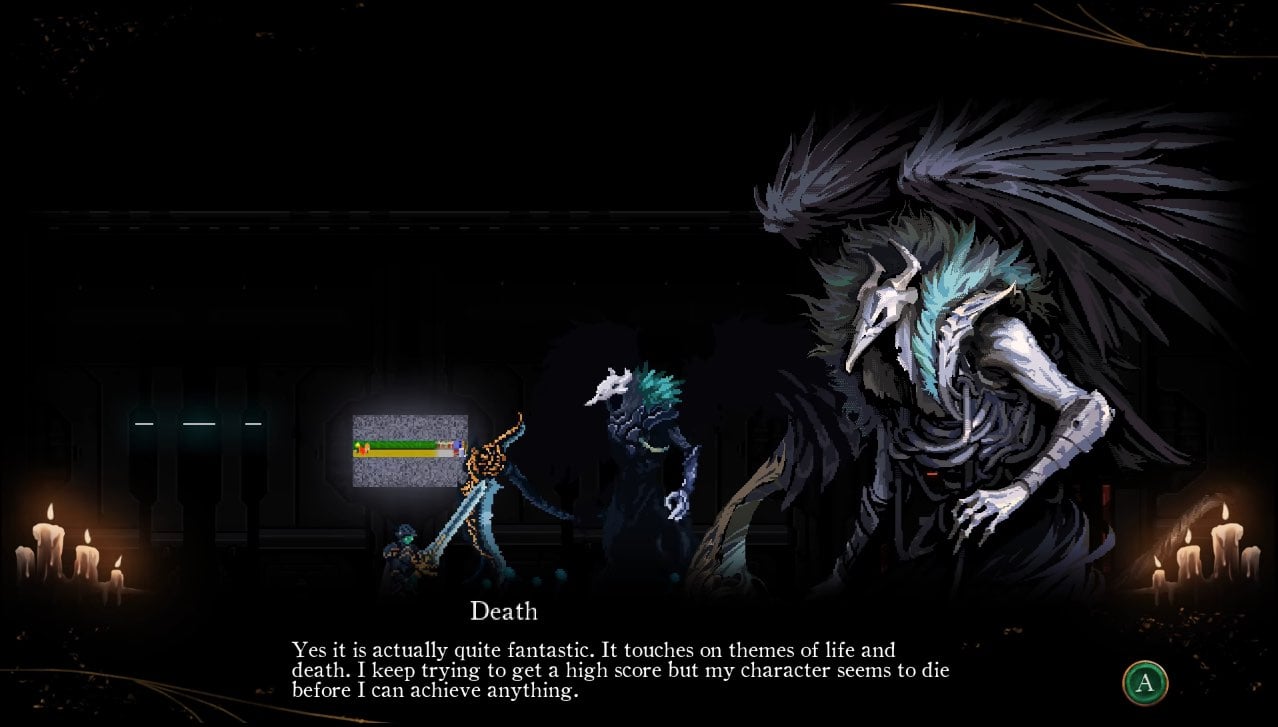
Aldwynn Shortcut
Before proceeding, let's open up a shortcut. Next to Death are a set of platforms that lead upwards. Take them up until you reach a level with a candle light. Jump onto this platform and open the door. Now if you enter and climb the platform directly in front of you then head left, you'll arrive at a rather ladder, Save Point Statue, and bell. This ladder leads you up to the first house you enter in Aldwynn.
Bysurge
Head back down to the Save Point next to Death, and head right. Jump over to the other side of the platform to find another two polarity switching machines. To the right of them is an elevator that takes you directly to the boss fight.
Boss Fight: Bysurge
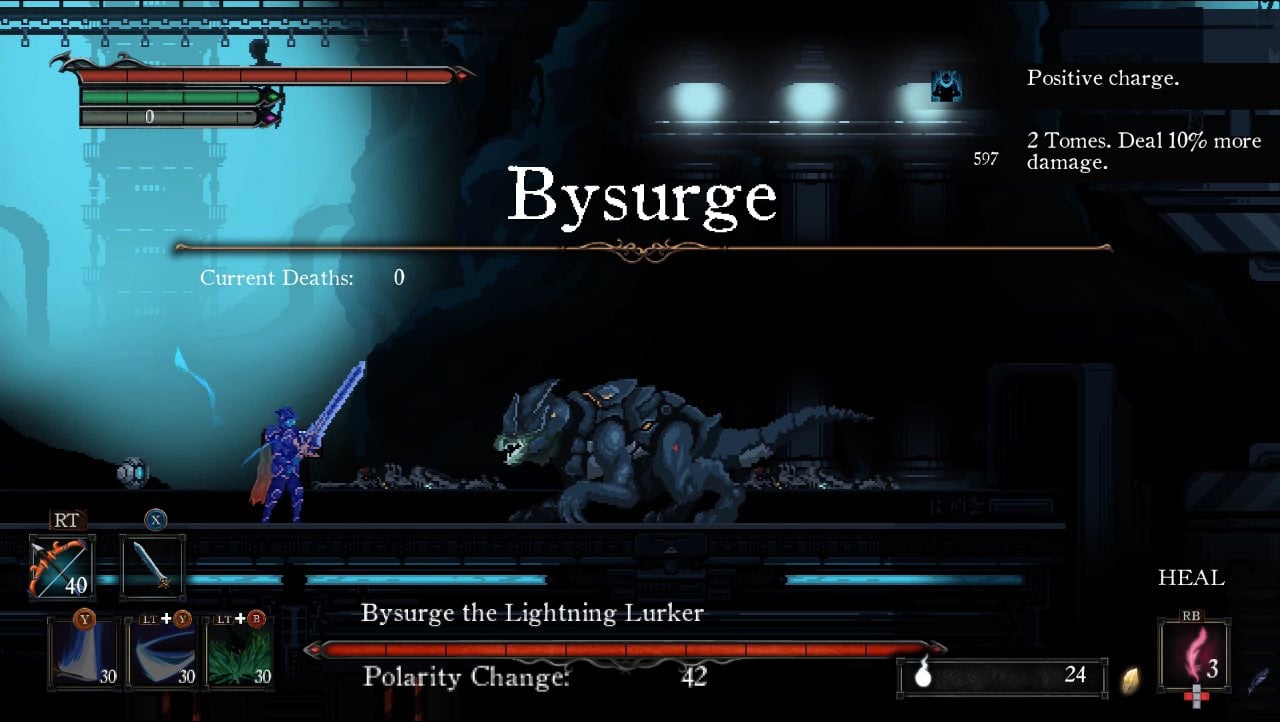
This boss has the ability to swap polarities and the swap will be revealed to you by the timer below his health bar.
Garde Turn Video
Garde Turn Map
[map goes here]
Trivia & Notes
- On the Maps that appear in this area:
- Red Spot - Your location
- "S" - Save Point Statues
- Pink Rectangles - Doors & Panels
 Anonymous
I don't think you can keep switching polarity when confronted with room 2. It seems like every time I go back the enemies reappear

 Anonymous
At the last elevator next to the area where you start to get polarity charges there's a room you can see on the left side of the elevator shaft. I've tried just about everything but I haven't find any way to get inside. Anyone know anything?


Very deprecated.
0
+10
-1