Caer Siorai is a Locations in Death's Gambit.

General Information
- Previous: Y'lnoth
- Next: N/A
- Recommended Levels: Any
- Bosses: Soul of the Phoenix , Endless
Video Walkthrough
Caer Siorai Map
[map goes here]
NPCs in the area
Bosses
Items
Consumables
- 4x Immortalite Stone
- 2x Gaian Blood
- 2x Leaf of Gaia
- 1x Crow Plume
Weapons, Spells & Armor
Keys & Other
Enemies
- Amarog Champion
- Drake Vanguard
- Elite Drake Knight
- Priest Enemy
- Octopus Enemy
- Shark Enemy
- Hallowed Knight
- Phantom
- Crystal Lizard
- Golem
- Recluse
Full Caer Siorai Walkthrough
After the Thamalus boss fight, you will be at a door the required 3 Sigils of Caer Siorai open, which by now you should have acquired. Head through the door to find a ladder and a bell. First summon your stead and travel east. Eventually you'll ride along a giant being, which you can climb by scaling the platforms on its right leg.
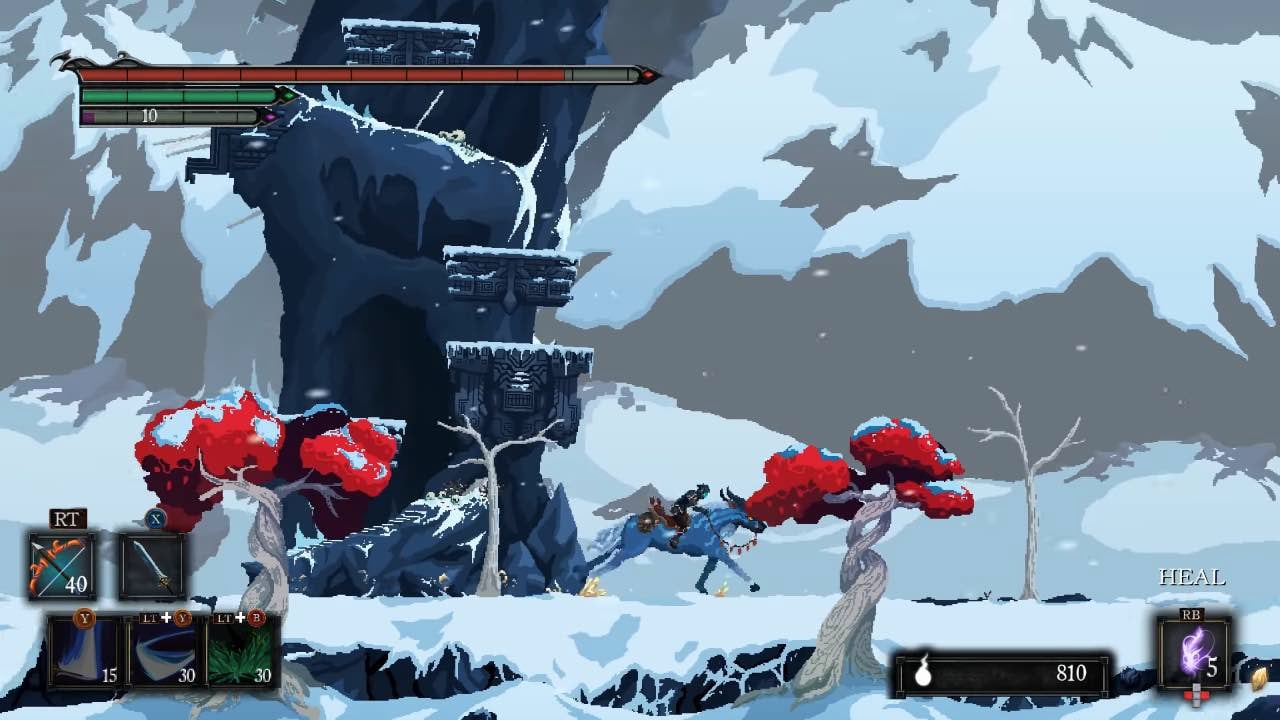
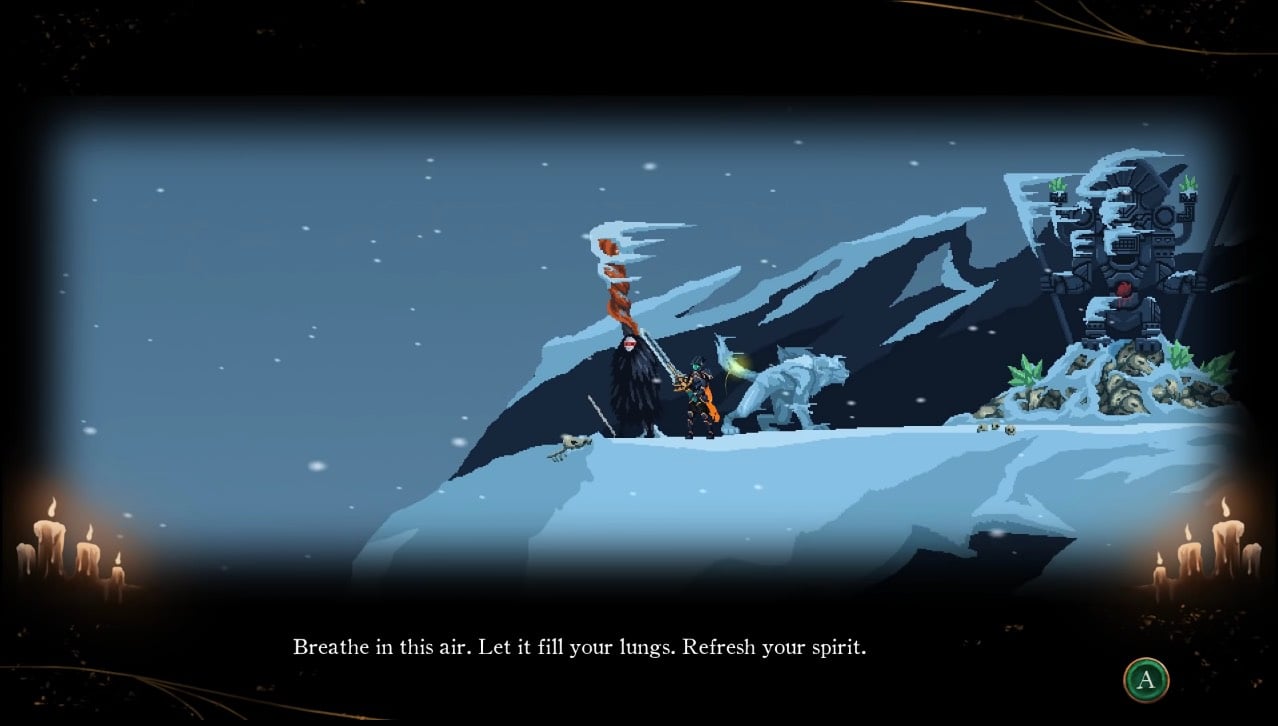
Take this up to the cave at -what I hope is- its belly. Upon entering, you will be greeted by a snowman holding a sign that reads "The end is near". Continue in the same direction to find two Amarog Champioms, and a few Ice Shards at a set of wooden platforms leading up. Take it up, and proceed right to exit the cave. You will find yourself back outside. Speaking to the robed NPC at the very left will grant you a Talent Point, a Crow Plume, and will be teleported back to the entrance of the sewers, where there is a bell.
Head back to the bell and up the ladder. This will bring you to a Save Point statue, from which you need to head left before jumping up and back right and you'll find a lever that will extend the wooden bridge, allowing quick access from after the Origa boss fight, to Caer Siorai. This also allows Vrael and Ione to cross and join you on your final escapade.
What's going to work?
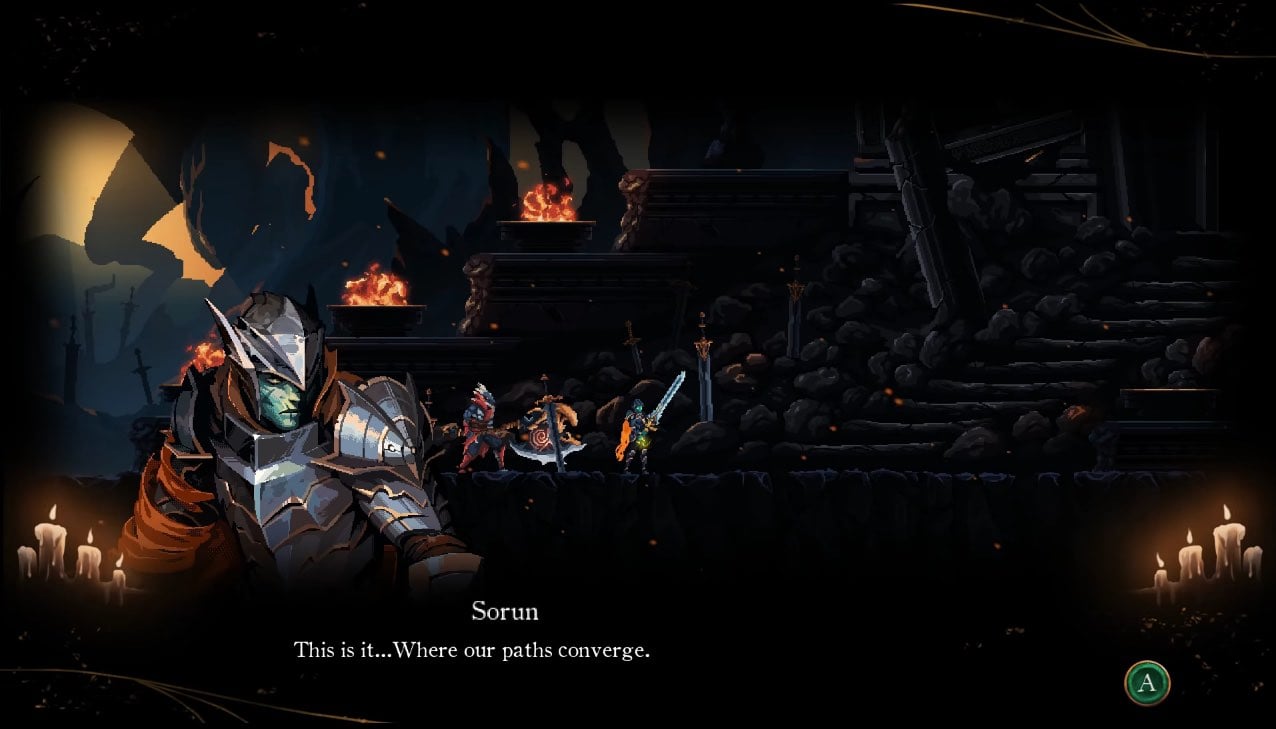
As soon as you draw the bridge, all three of you will begin to charge the entrance of the church. Once inside, you will see the Dark Knight and the Soul of the Pheonix flee. Walk east and you'll be greeted by an ambush of four Drake Vanguards. Immediately after, there will be two Elite Drake Knights waiting. Continue right, and in the next room, you'll find another Elite Drake Knight, however be mindful of the bloodied trap ready to drop on you as you pass. Roll under it. Continue past him and you'll find another bloodied trap, this time emerging from the floor. Head onto it and hug the right so as it shoots up, you can roll off it and onto the second platform holding the "Priest" Enemies. There is also another Shark Enemy on the platform to the right. Head right and continue until you pass the spinning blades and arrive at the Save Point Statue.
If you head back left, and drop down the first gap, you'll drop into a blood pool. You'll want to complete this as quick as possible, as the cursed bar builds up while you're in this pool. There are two Octopus Enemies, 1x Immortalite Stone, 2x Gaian Blood, and 1x Leaf of Gaia down here, so it's well worth visiting.
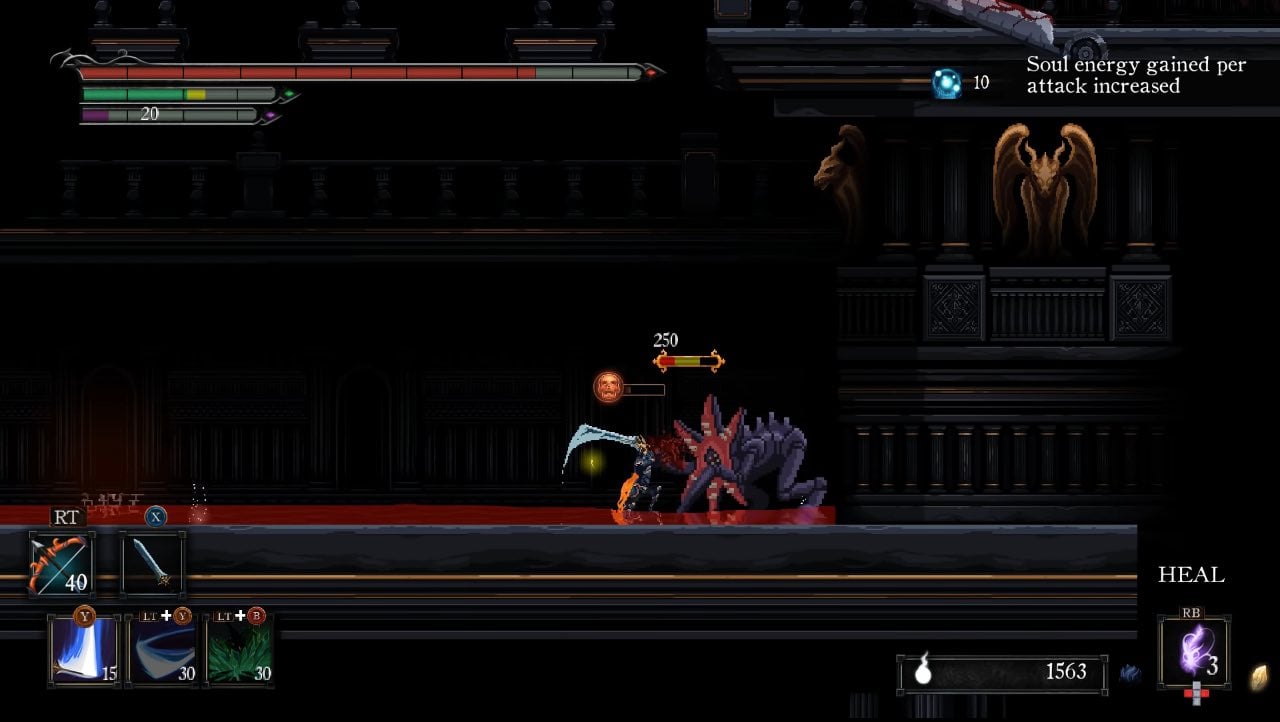
Soul of the Heroic Pheonix
Head back to the Save Point statue and head right. The next room will bring you the Heroic boss fight against the Soul of the Pheonix. Be wary of a spin move she does, and make sure to pick up the feather's dropped by the pheonix, and you should be fine.
Heroic Boss Fight: Soul of the Pheonix
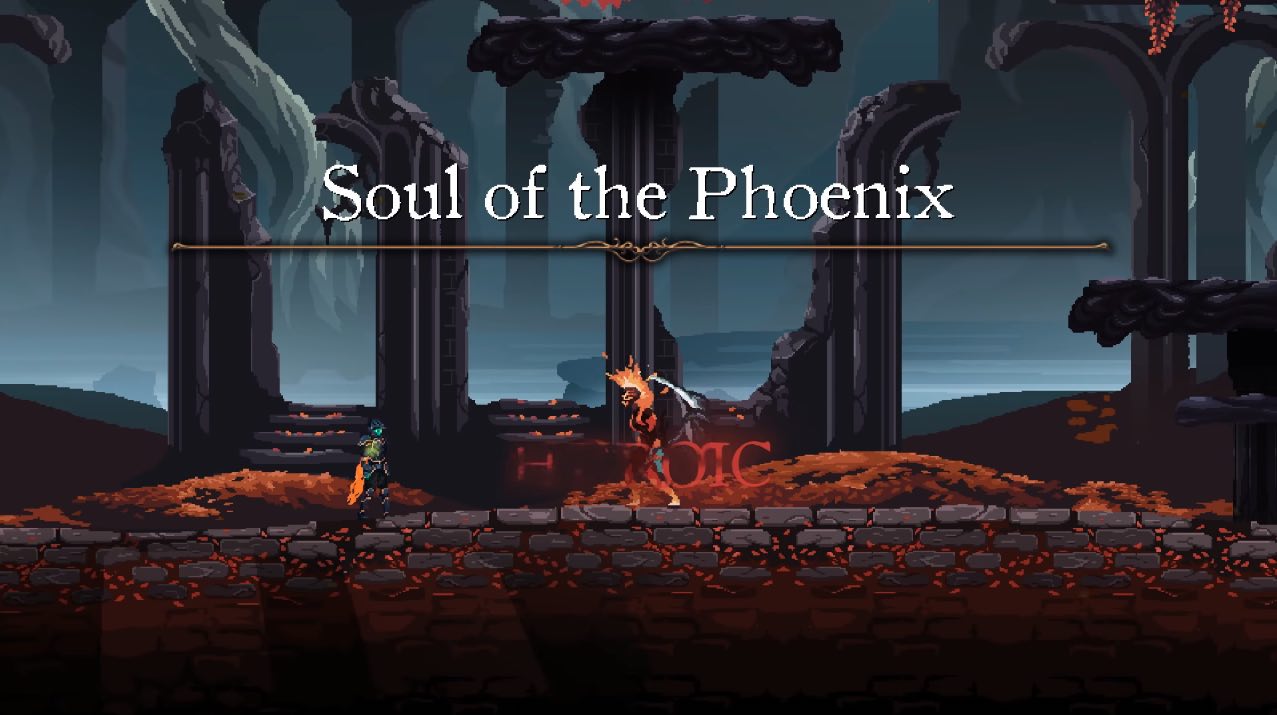
Once defeated, she drops 1x Immortalite Stone, 1x Pheonix Down, and 1x Great Pheonix Plume.
Get Ready to Rumble
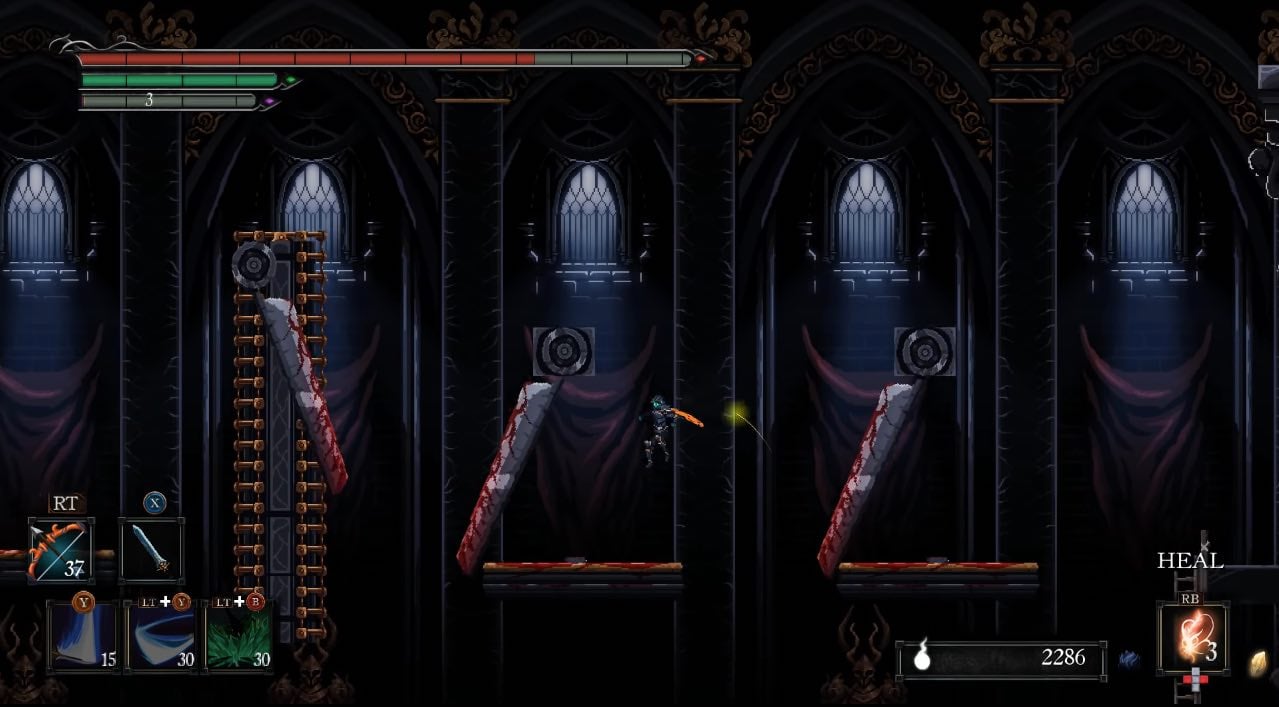
Head back and up the ladder to enter a higher level. This will bring you to a Feather Upgrade straight away. At the very left, kick the ladder down to open up a shortcut to the Save Point Statue you were at prior to the boss encounter. However progress is ahead, not below. Right at the ladder, you'll also notice a couple of platforms ahead of you with spinning blades above each of them. What you may not notice are the pressure plates beneath the blades that trigger spikes to emerge from the floor and deal a considerable amount of damage. Combine that with the spikes and it makes crossing this a lot harder than it needs to be, so shoot the blue pressure plates before jumping onto the platforms. You'll also notice an item -Ascended's Cape- on top of the wheel of the first blade. To get to this, cross over to the ladder in the middle then jump onto the wheel of the closest blade to then arrive at the one with the item.
Drop back down then head back towards the ladder on the left, and instead of jumping back, continue left until you find a Hallowed Knight. Kill him then continue, quickly jumping onto the ladder as another bloodied trap will push you off the platform shortly. Up the ladder to the left, you'll encounter three Phantoms. Continue to fight another two, and a Shark Enemy, as the heroic music intensifies. Continue in the same direction until you arrive at the next room. There will be a Crystal Lizard on the edge, ready to jump if you step any closer, so hit it with a bow. Head up and collect the Crow Plume.
Up the stairs, you'll find your mother by a statue - PLEASE NOTE that these are both fake. Continue up the stairs to enter a room with multiple bloodied traps, ready to fall on you as you pass them, and an Elite Drake Knight in between them. The best thing to do is to sprint through, and hope the Knight dies via one of the traps. Continue until you arrive at a corridor riddled with spinning blades, then keep going. You'll come across another couple of Hallowed Knights. At the end you'll find a drop. Drop down but move right to land on a platform with a living chest; this one drops an Immortalite Stone. Head back up to the platform you just dropped from.
Continuing to the right instead of dropping down will lead you to two Golems. Past them you'll notice another drop, and a platform that continues. The drop will require you to hug the right wall as you fall, and use an air dash as soon as you see the gap. This will bring you to the Solar Bow, which is a very spicy bit of loot. Head back up and this time jump over the drop to reach a set of wooden platforms that lead up, with fire balls shooting down. Head up and take the first right you can. This will bring you to a blood-soaked floor holding a Recluse, a Shark Enemy, an Elite Drake Knight, and at the end, you'll find a Chained Gaian at the end who will offer some lore.
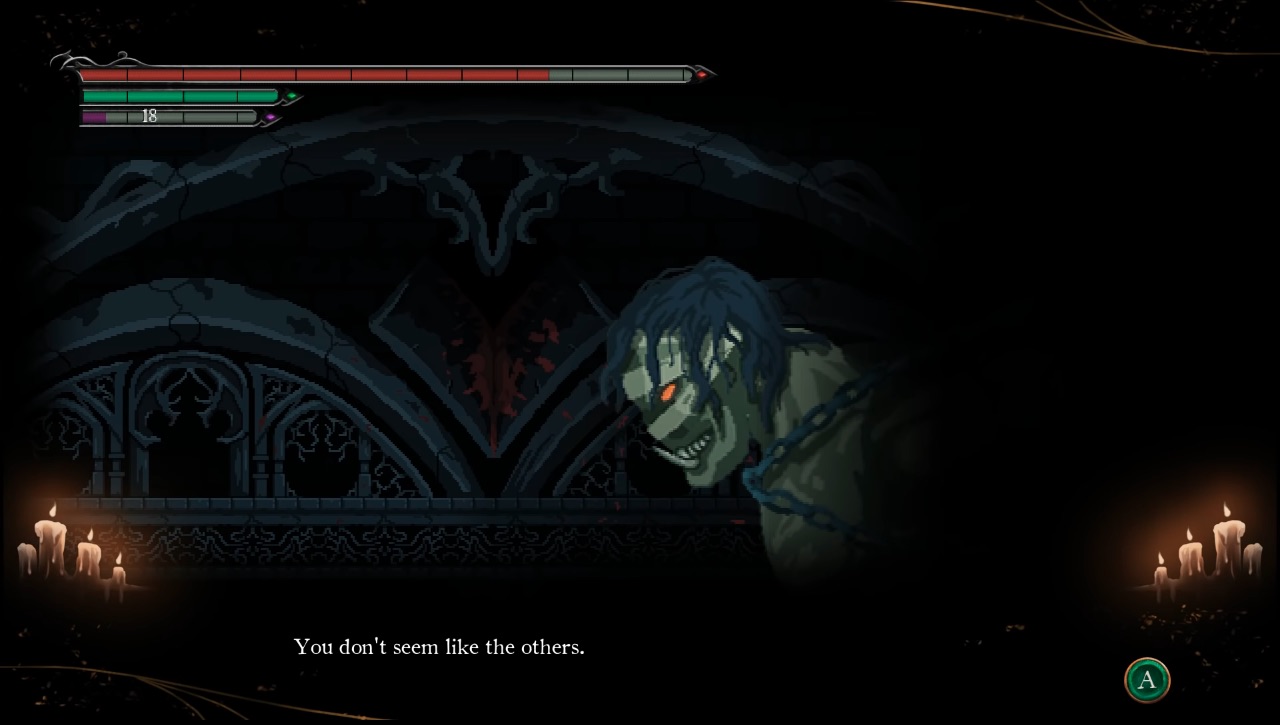
Immortality Race
Head back out of the blood-soaked floor room, and back out to the wooden platforms. Ascend them, dodging the fireballs, until you reach the ladders. Climb them too, jumping between the two ladders to avoid the spinning blades. Once you reach the top you can drop down the gap for a Leaf of Gaia then return to this point to continue forward. Ascend the platforms and head left. This will bring you outside to two Elite Drake Knights. Upon defeating the both of them, a giant in similar gear to the Knights you just dealt with. Attack his foot to kill him, which also opens the door on the left, allowing you to collect an Immortalite Stone, and access an elevator pad that takes you all the way down to the bottom of the level.
Head back up the elevator and head right, into the next room, and continue right. In this room, you'll come across Vrael and Ione, and they will seem to be questioning your motives and will turn against you. Now, while you can take the fight to them and defeat them, you can also just run past them and resolve your issue later (in a less violent manner).
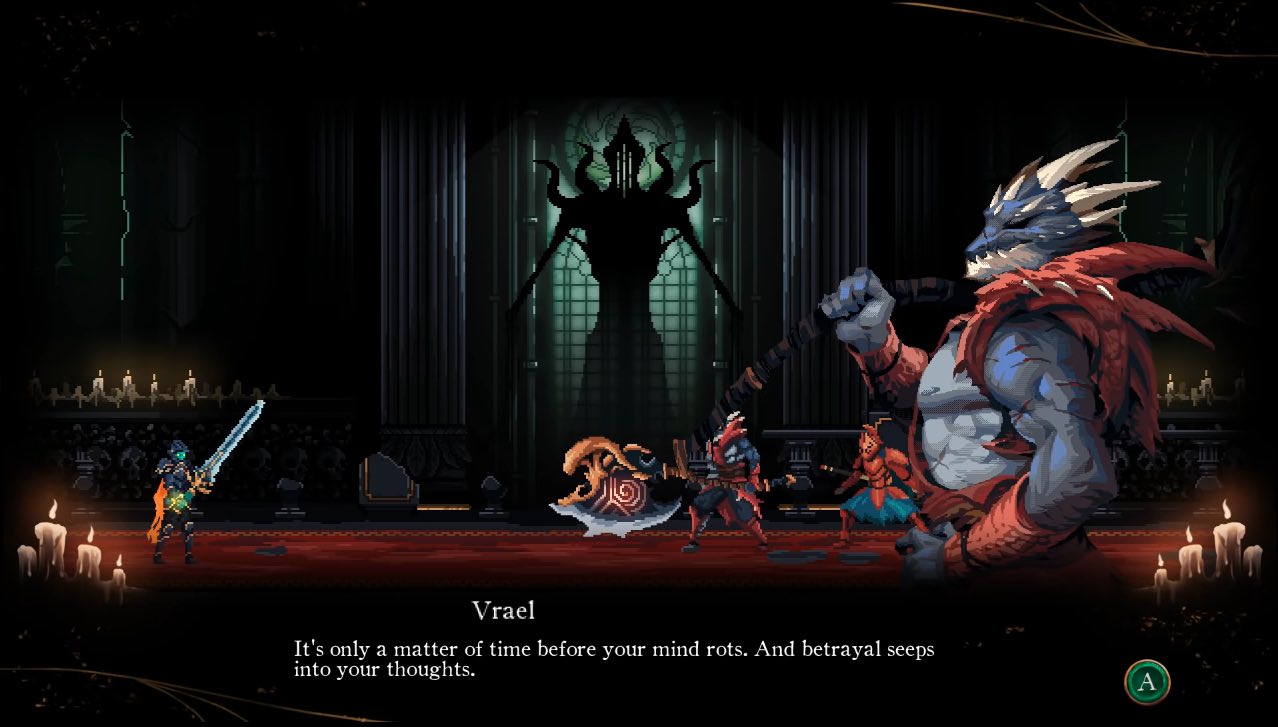
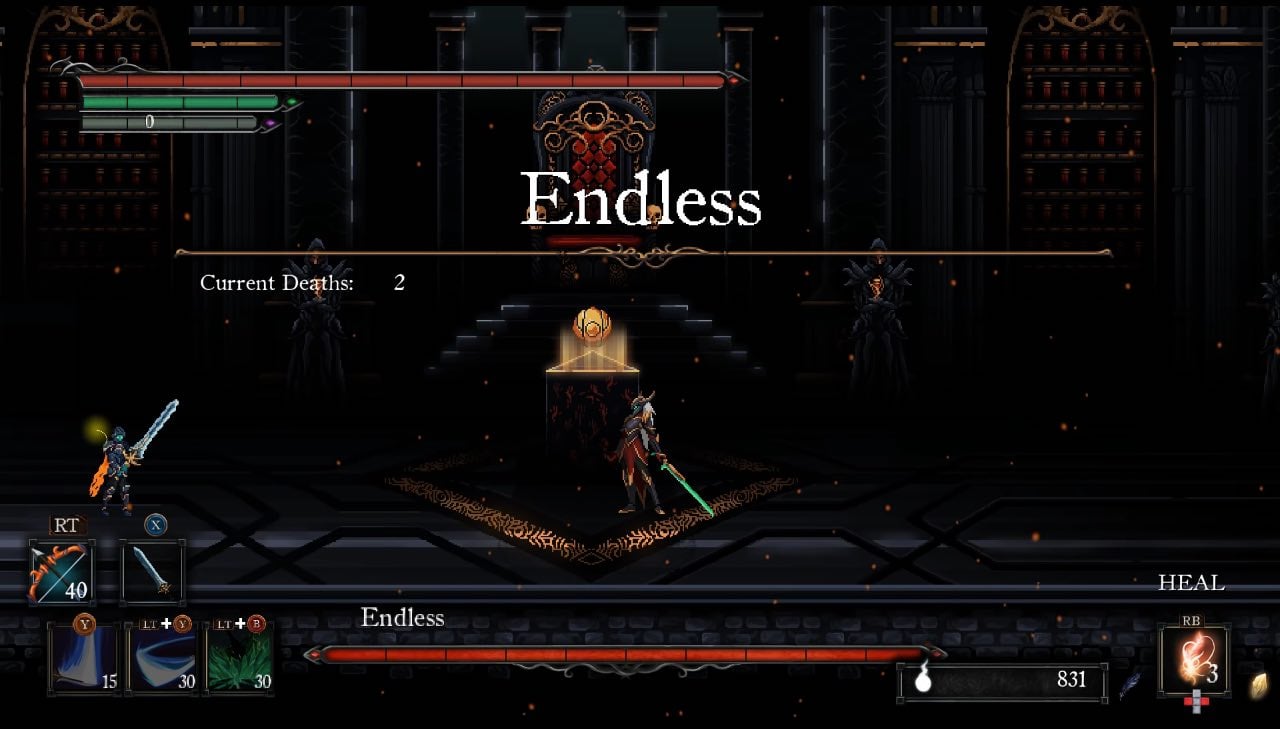
Once past them, continue into the next room and take the elevator pad in the middle of the altar that intensifies the heroic music, and brings you to the top of the citadel. Here you'll find a Save Point Statue. Proceed right to have your final face-off against the Big Bad...
Boss Fight: Endless
Caer Siorai Video
Caer Siorai Map
[map goes here]
Trivia & Notes:
Trivia and notes go here

There really should have been a better indication you could run from Vrael and Ione. No other place is there shared dialog before a battle that you could just... leave.
0
+10
-1