Almuvaro's Observatory is a Location in Death's Gambit. Area description goes here.

General Information
- Previous: Journey's End through Central Sanctuary
- Next: N/A
- Recommended Levels: Any
- Bosses: Amulvaro
Video Walkthrough
Almuvaro's Observatory Map
[map goes here]
NPCs in the area
Bosses
Items
Consumables
- 1x Crow Plume
- 1x Abyssal Eye (item)
- 1x Leaf of Gaia
- 2x Immortalite Stone
Keys & Other
Enemies
- Golem
- Lesser Owlking
- Abyssal Eyeball
- Ice Shard
- Elite Drake Knight
Full Almuvaro's Observatory Walkthrough
Make your way back to Central Sanctuary. Once you arrive, in case you haven't acquired the Crest of Gaia, pay Jaco a visit; if you haven't got enough, simply farm until you do. Once you've acquired the crest, head to where Bast is (or was) and go north until you reach an elevator. This brings you up to the observatory.
Observations
Immediately, you'll find a Crow Plume on the right of the elevator. Head left to engage in an exchange with Vrael, who is stood by a Save Point Statue.
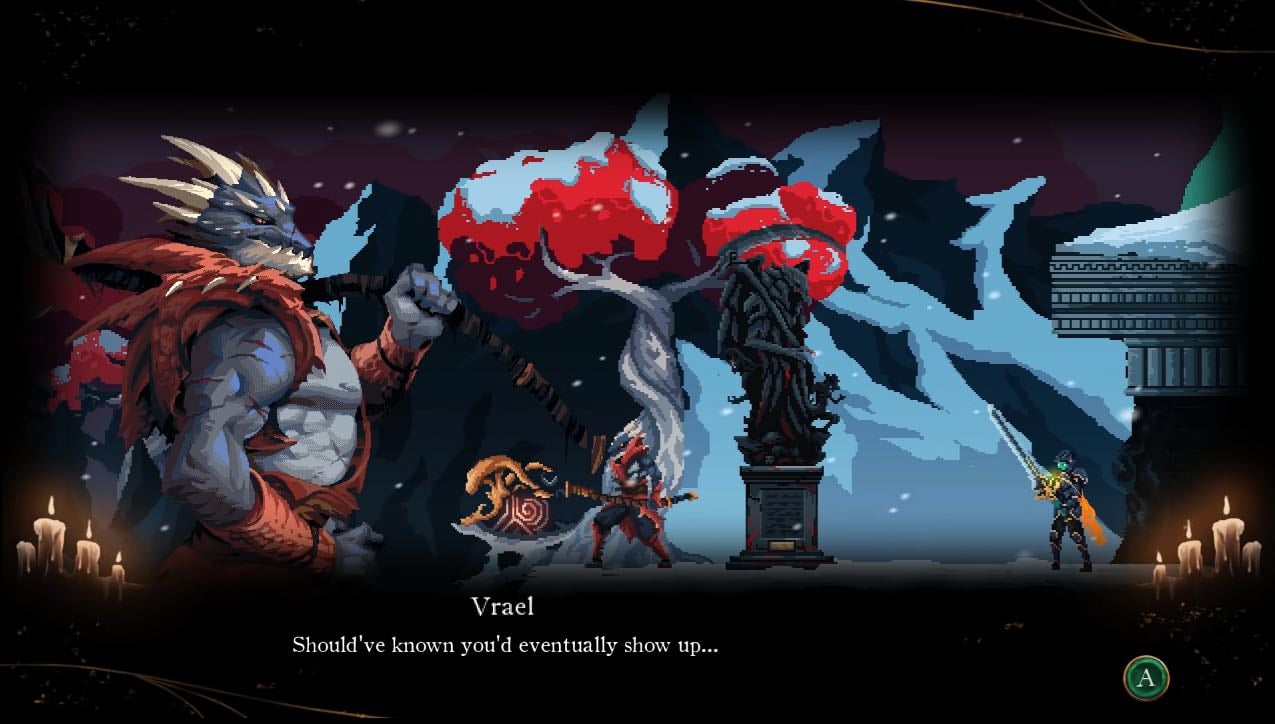
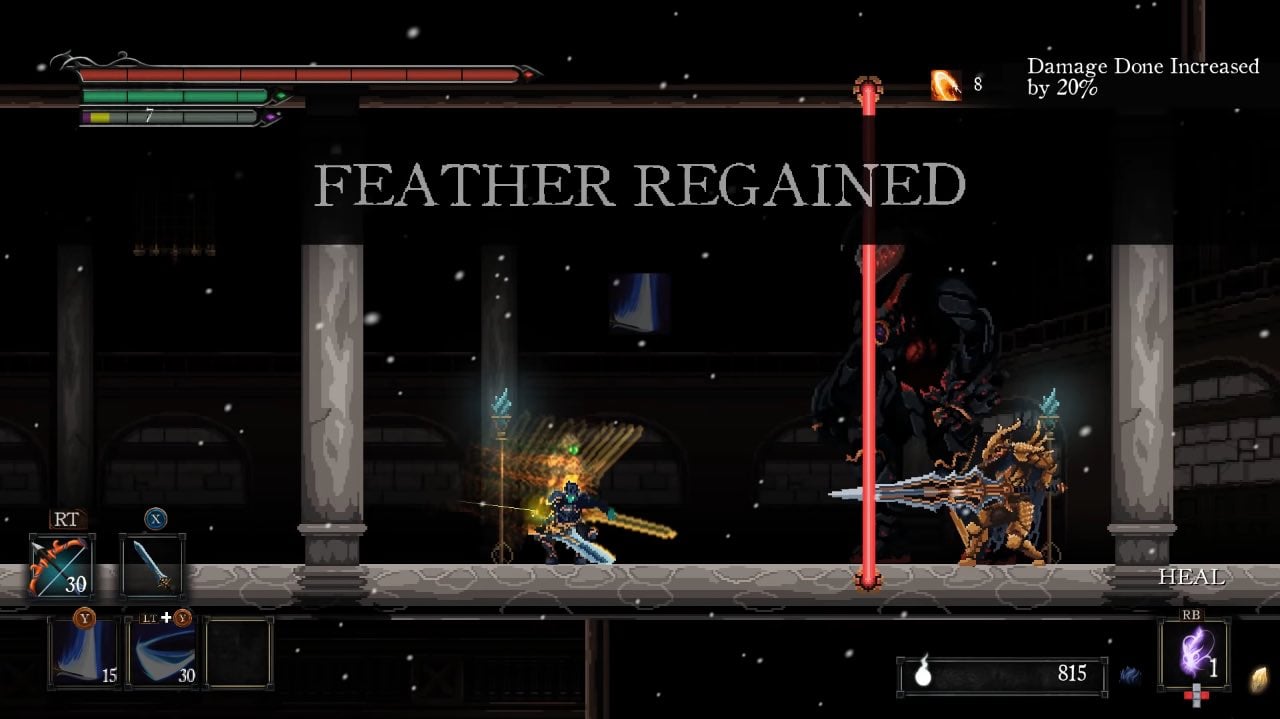
Continue left to find a Golem. While they may look imposing, the are relatively easy to deal with. Continue in the same direction to find a variation on an old adversary: the Lesser Owlking. The next enemy you find is the Abyssal Eyeball, and they are capable of doing a few things:
- They summon lasers that vertically seal of sections of the map, until you kill them, or the enemy they sealed you in with.
- They summon Lesser Owlkings.
There are also bodies that are scattered around that release a small Parasitic Lifeform that rush you. These are small, white, and a little claw-like. They eventually die if they don't reach you in time (approx 2 seconds). However if they do reach you, they jump into your inventory and deal repeated damage until you remove them; they can be removed by opening the inventory and dropping them.
Defeat it, and another will attack you by the upcoming ladder. Once you've dealt with it, proceed up the ladder to take on an Ice Shard and then another two, accompanied by a Lesser Owlking. After you've dealt with them, head to the edge and drop off the left to acquire the Amulvaro Tome. The only way out is down, so drop down and quickly kill the Abyssal Eye so you can take on the upcoming Golem alone. After you've done that, you'll notice a downward ladder; you can find a Theurgist Aura if you head all the way down. After they've been dealt with, go left of arch to find another Lesser Owlking and a Drake Vanguard. Behind them, you'll come across the Gift of the Grey Wanderer and a dead end.
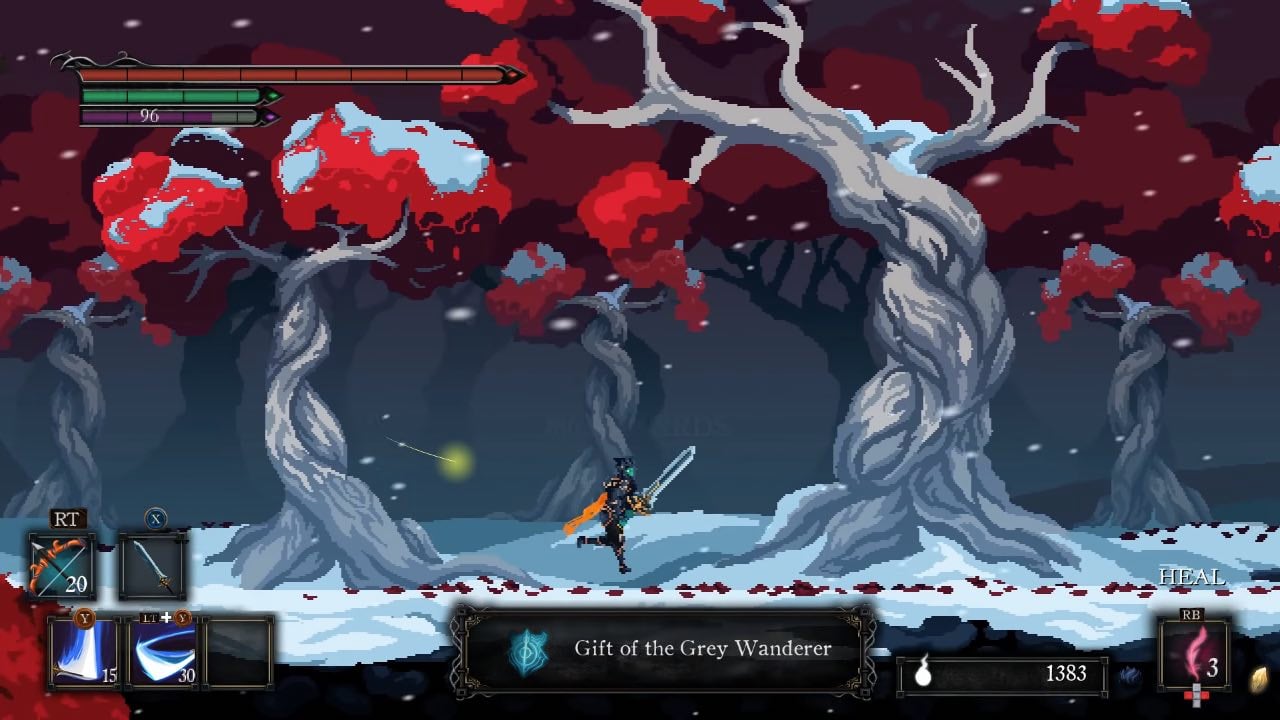
Once that's all done, head back up the ladder but instead of dropping off the edge, this time head up the next ladder to pick up the Abyssal Eye (item). If you are an Acolyte of Death, you can also pick up another special item here. Head up the next ladder and destroy the Ice Shards before acquiring the Feather Upgrade on the left. Head right and climb the ladder.
Trial by Death
Here, you'll find a small passage with two wooden planks in two seperate locations that you can use to go up into different rooms. The first one brings you to a room with a Golem and a living chest -the chest teleports elsewhere after hitting it once. Drop back down the wooden platforms and proceed to the next set. Here is where it gets a little tricky because you could find yourself trapped by lasers with not only a Golem but an Elite Drake Knight as well. Climb the ladder you find behind them. This will bring you to another section that is yet to be sealed off by lasers, holding two Lesser Owlkings and an Abyssal Eye. Head right until you find two ladders, each leading in a different direction.
Take the downward one first, passing fire-breathing statues as you descend. This will bring you to the second Amulvaro Tome. Take it all the way down and you'll arrive at a platform with the living chest that teleported earlier, guarded by a few Ice Shards. Note that the living chest will continue to teleport every time you hit it, but will only do so on this platform from now on, until you manage to kill it; once it's destroyed, it drops an Immortalite Stone.
Head back up to the platform with the two ladders, and take the ladder up. Go through the doorway to reach a Save Point Statue.
The Gauntlet
Beyond this point, is a not-so-fun party. However, first head left until you come across the edge with a ladder, ignoring the ladders down and up on the way. The lower platform here will hold a Leaf of Gaia. From here, you can climb back up the ladder and jump onto the pillar to then double jump over onto the next one, on a lower platform with a Golem. From this one, double jump again in the same direction and you'll land on another pillar holding a Light of the Grey Wanderer. Return to the Save Point using a Crow Plume.
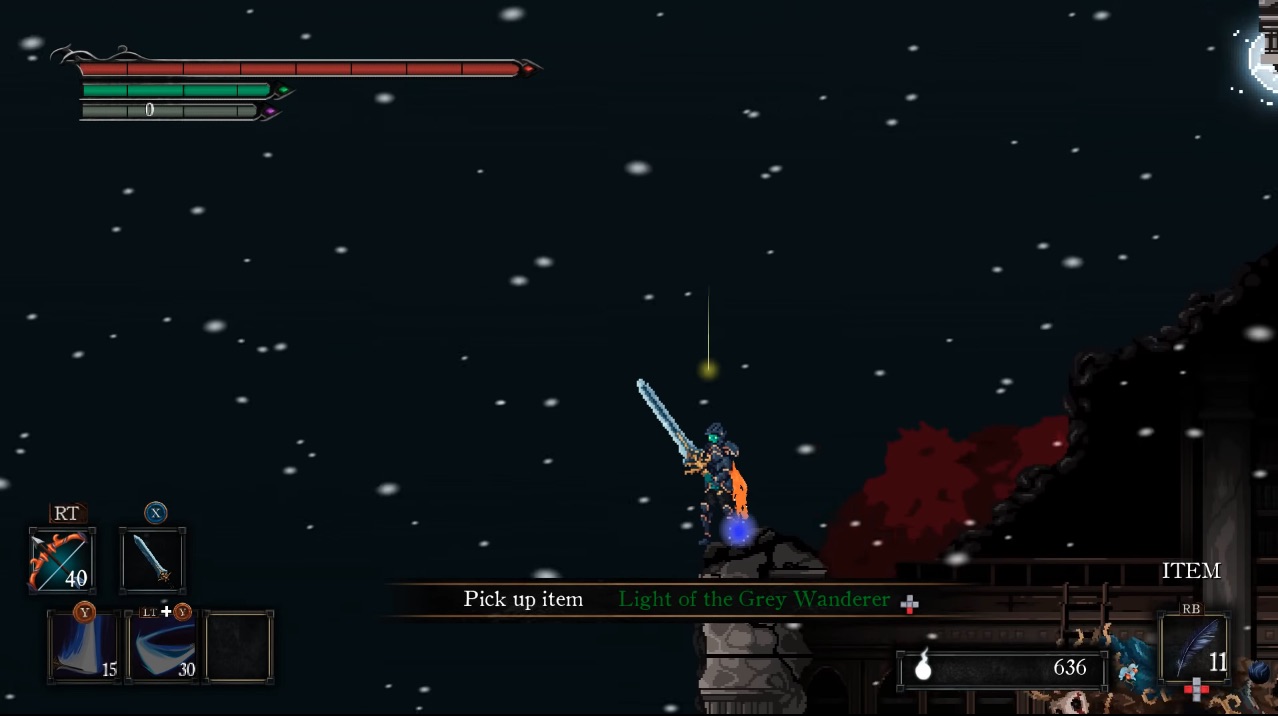
Here is where the party begins. The boss fight awaits up the ladder past the Save Point Statue, however it can only be accessed by completing the bottom first. So head down the ladder. This will bring you down to a 4-way split, with a path leading above and below a set of stairs, on either side.
Defeating each of the enemies in each of the areas will also add an affliction to the player. The objective: the player must carry all 4 afflictions up the ladder to access the boss door. Upon death, the player will lose all afflictions and will be required to restart the gauntlet. The affliction and recommended order of each room is listed as follows:
- Top Left - Will bring you to the Golem from earlier, with several electric orbs around him. (You have 70% of your max health.)
- Bottom Left - Will bring you down to a room with poison spores lined up, leading to a Lesser Owlking, where there are also another set of poison spores behind him. (Healing uses two feathers instead of one.)
- Bottom Right - Will bring you to a room where a Xenomorph-looking alien will pop out of a portal. (Dodgerolling makes stamina get reduced to 0.)
- Top Right - Will bring you to a room with two Shark Octopus enemies. (Slowly lose health when no ability on cooldown.)
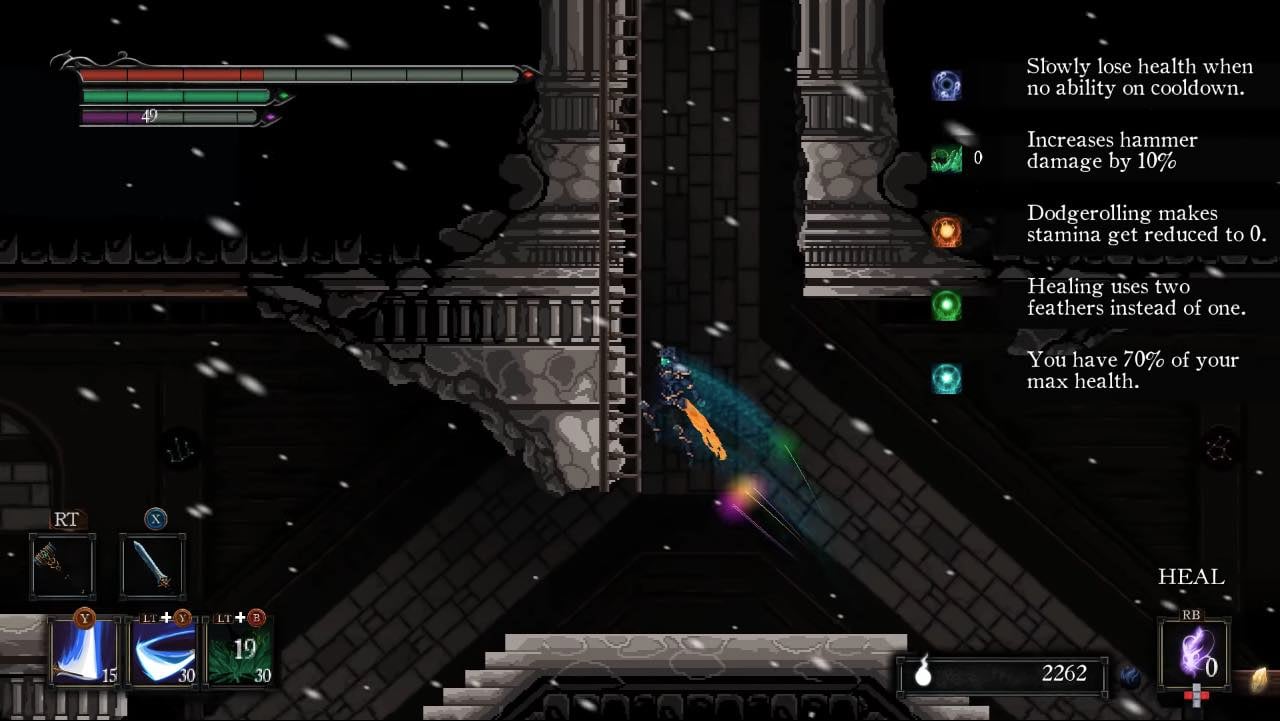
Once you've acquired all 4, it's a race against time up the ladders and to the boss doors. Upon opening the doors, you lose all afflictions. Enter into a long corridor. Head left and continue left, until you've reached the end and find an Immortalite Stone. Head back to the Save Point Statue to heal, before returning to speak to Amulvaro. At the end of your exchange, he will bring you to an astral plane to commence the boss fight.
Boss Fight: Galaxy Mage Amulvaro
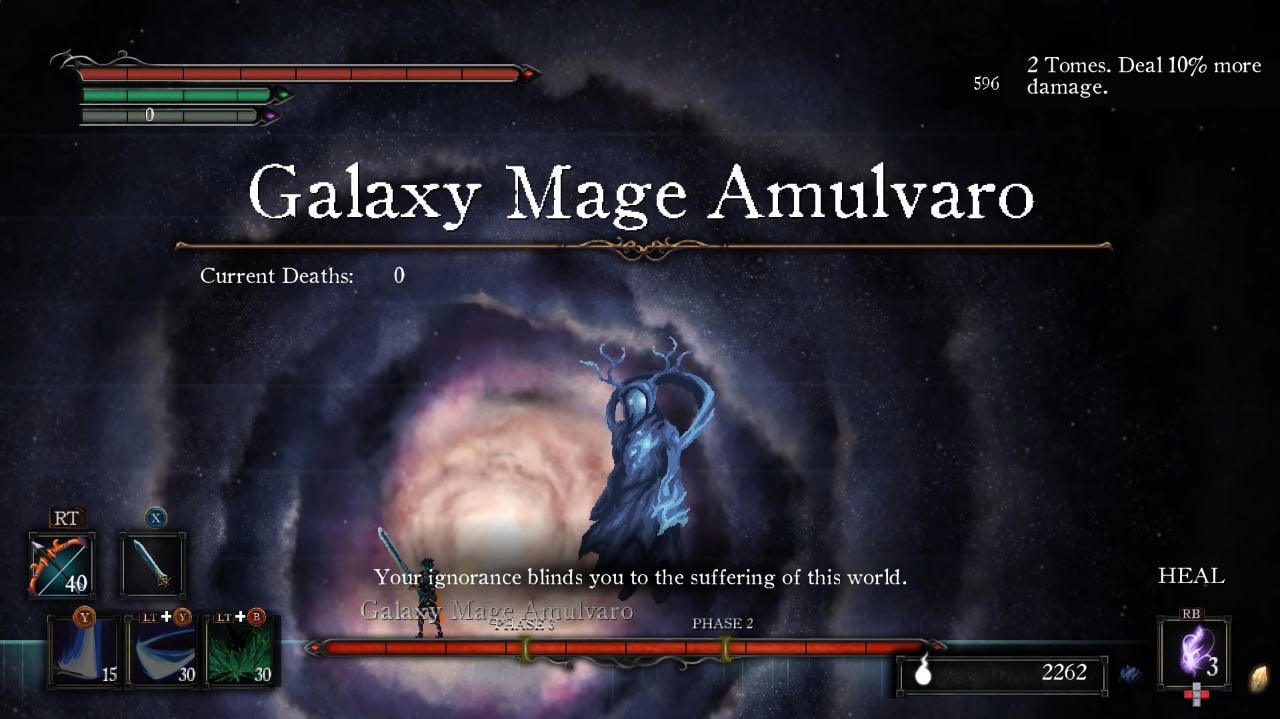
Almuvaro's Observatory Video
Almuvaro's Observatory Map
[map goes here]
Trivia & Notes:
Trivia and notes go here
 Anonymous
There's a missing key item. As soon as you make it to the top with the rest statue just below the boss room, head all the way left avoiding the ladders that go down till you come to the ledge with it's own ladder. climb down it and attack the base of the ladder. You'll reveal a secret passage giving you the "Gaian Relic 3" key item.

 Anonymous
I keep seeing "double jump" with no mention anywhere on how to do this...?

 Anonymous
On the way down to the Phoenix chest is the Energy cell needed for Garde Tum, it starts a 290 countdown to get to the Energy cell point, your reward is an Immoralite stone. There is still another area in Garde Tum that I can't work out how to access though, the cranial reassignment room I suppose.

 Anonymous
There are some innacuracies in this, and a few things missing. There's a secret room that you can find in the room where you find the Theurgist Aura. You have to face to the left, and the wall that you see will vanish and a room will appear. If you try to face it again, the wall will reappear. Face away from the wall and backstep into the room. Be careful to let the wall fully fade, or the game might bug out here. There will be one of those assassin dudes near a lever and he'll say he'll pull it for you if you pay him. Idk exactly what the point of that is.. he usually just attacks me. Either way, kill him and use airdash to get up to the lever, pull it. I have no clue what it does. There are acutally TWO living chests in this area that teleport. The one that is mentioned in this post actually teleports to many different spots very far away, but has very slow health regen, so you can kill it by chasing it around. One of the spots is ALL the way to the left where the Drake Vanguard, Lesser Owl King, and Eyes drop on you. It's on a platform up high. It doesn't appear there every time, but you will need a bow to hit it. The other chest surrounded by Ice Shards is separate. Also, in my current playthrough (I beat the game once and started NG+ then made a new game with a different class and I'm being more thorough) I can't find the second Amulvaro Tome.. it's not by the fire dragon statues.... maybe my game is bugged?


this is no longer accurate, as of ashes of vados, there is no elevator above Bast, rather the snail NPC and the Stranded Isles region that requires unlimited flight to reach. How do you reach Amulvaro's Observatory in Ashes of Vados?
1
+10
-1